Tools/program
A list of tools and programs you will need to port weapons from all COD games!
Click on the tool/program in the list below to download them.
- AutoDesk Maya (2022+)
- Saluki
- Cordycep
- CODMayaTools
- Cast
- ManyAnims
- Texture Smith(TS)
- COD4:MW ModTools
- ManyWeapons
- HydraX
- ZoneBuilder
- ZoneTool
- OpenAssetTools
- x64 ZoneTool
- BassDrop
- CascView
Setting Up Maya
How to set up Maya ready to port weapons!
Up axis
How to set-up up axis
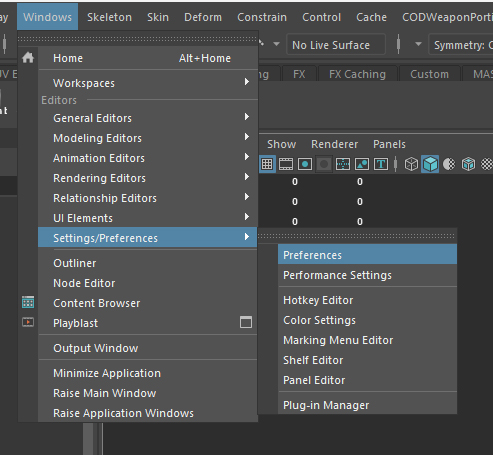
- First head to the windows tab at the top, then "Settings/Preferences" > "Preferences".
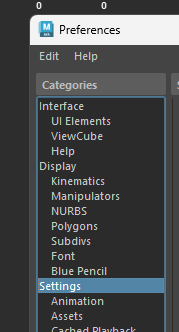
- Click on "Settings".
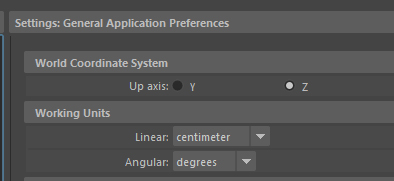
- Select up axis: Z.
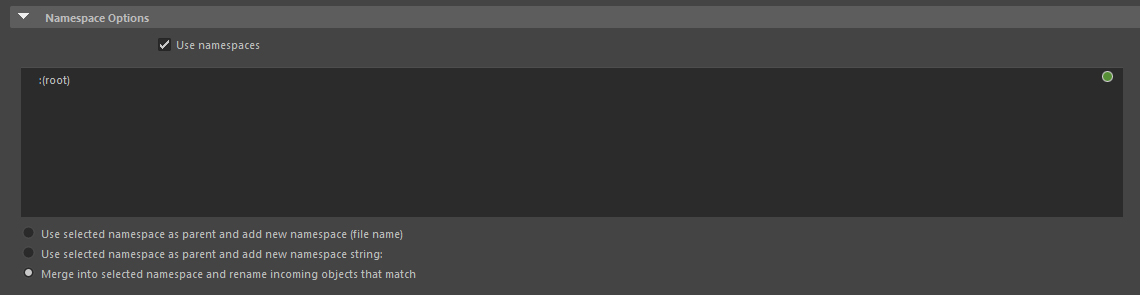
Import settings
How to set up import settings
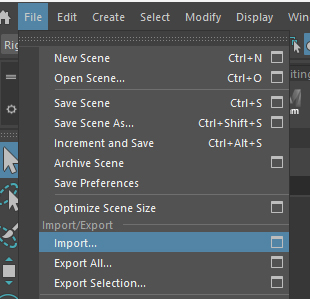
- Go to the file tab top left, then click on the box next to "Import...".
- Look for playback options and select "Override to Match Source" for both "Framerate Import" and "Animation Range".

- At the bottom of the window you should see "Namespace options", select "Merge into selected namespace and rename incoming objects that match".
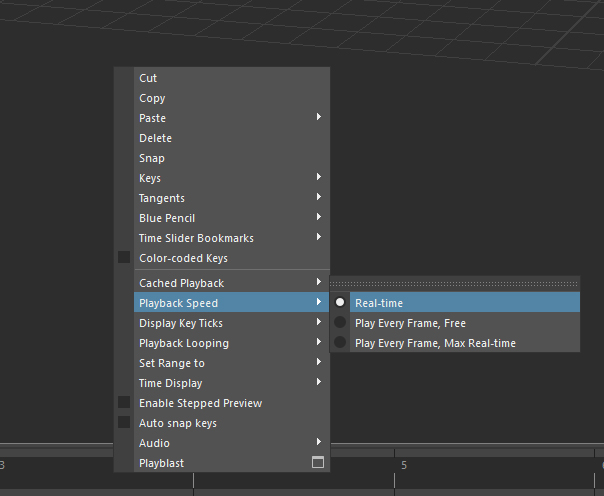
Timeline speed
How to set timeline speed
- Right click your timeline at the bottom of your screen, head to "Playback Speed" > "Real-time".
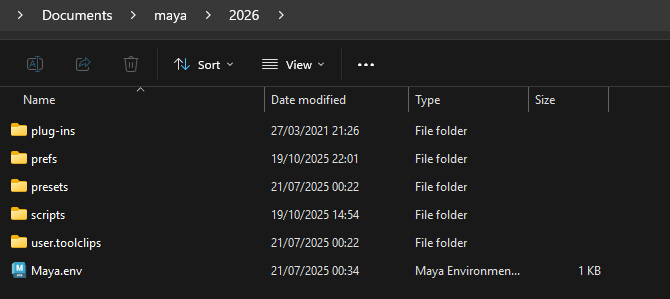
Legacy Default Viewport
How to enable Legacy Default Viewport
- Head to your maya folder located in your documents folder e.g
Documents/maya/2026, there you should see a file called "Maya.env" open it with any text editor (notepad, np++, VS code).
- Once there copy this into to the file and save
MAYA_ENABLE_DEPRECATED_VIEWPORT=1.
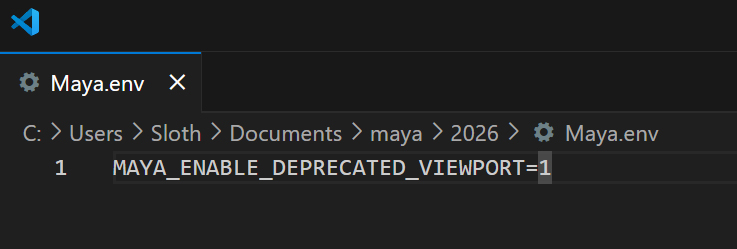
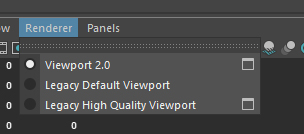
- Restart Maya if you have it open, after restarting you should see a setting called "Legacy Default Viewport" in Renderer.
Setting Up CODMayaTools (FINISH)
How to install CODMayaTools!
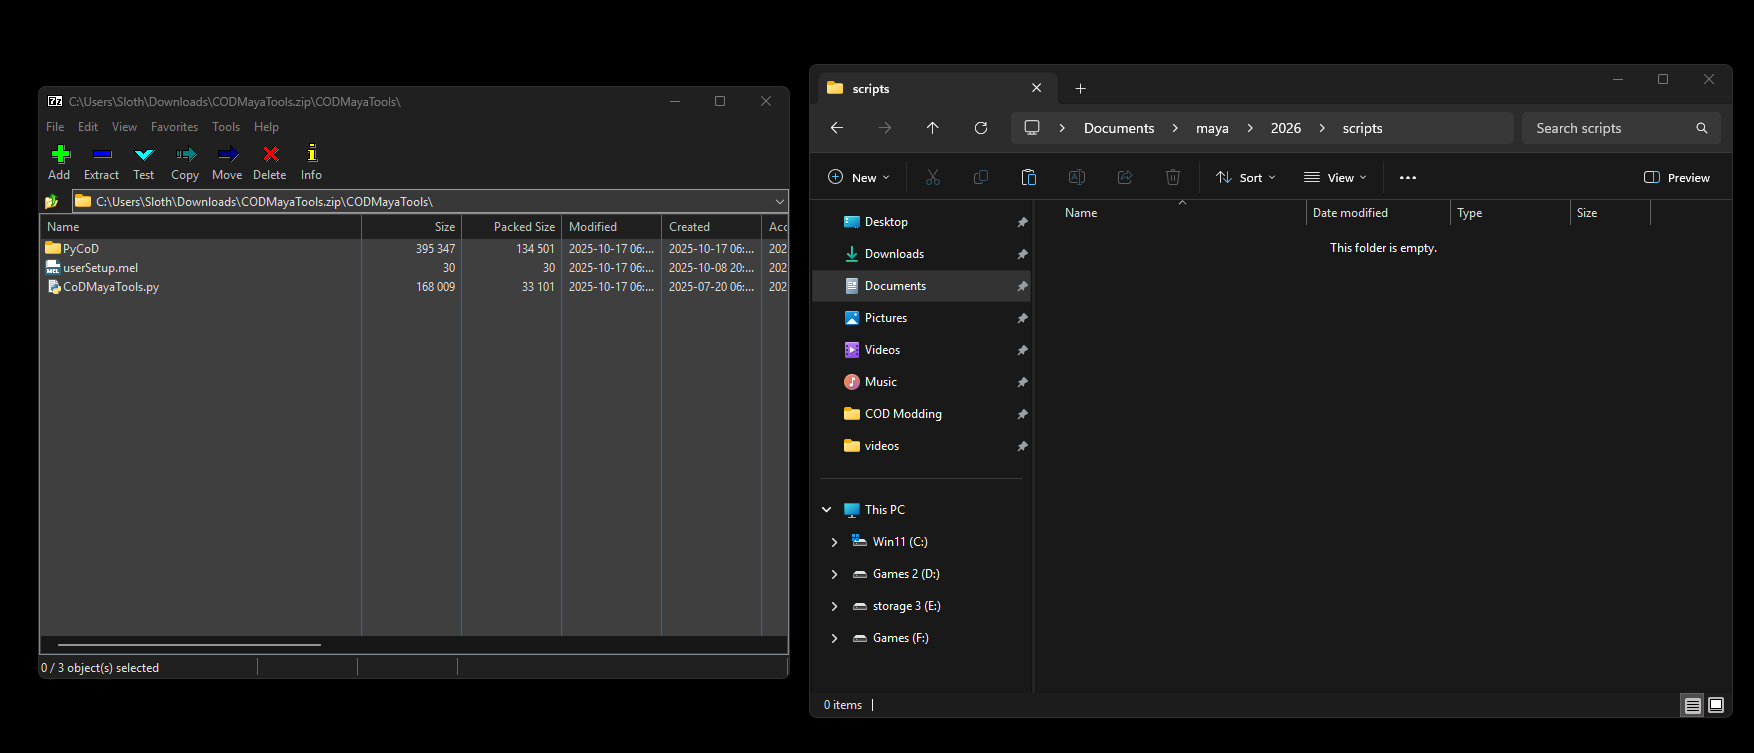
Download CODMayaTools from our github
Head to your scripts folder located in documents e.g
Documents/maya/2026/scripts, open the zip and move all files into the scripts folder. If you already have auserSetup.melfile open it and addpython("import CoDMayaTools");then save and close.
- Restart your Maya if you have it open.
Setting Up Cast
How to install Cast!
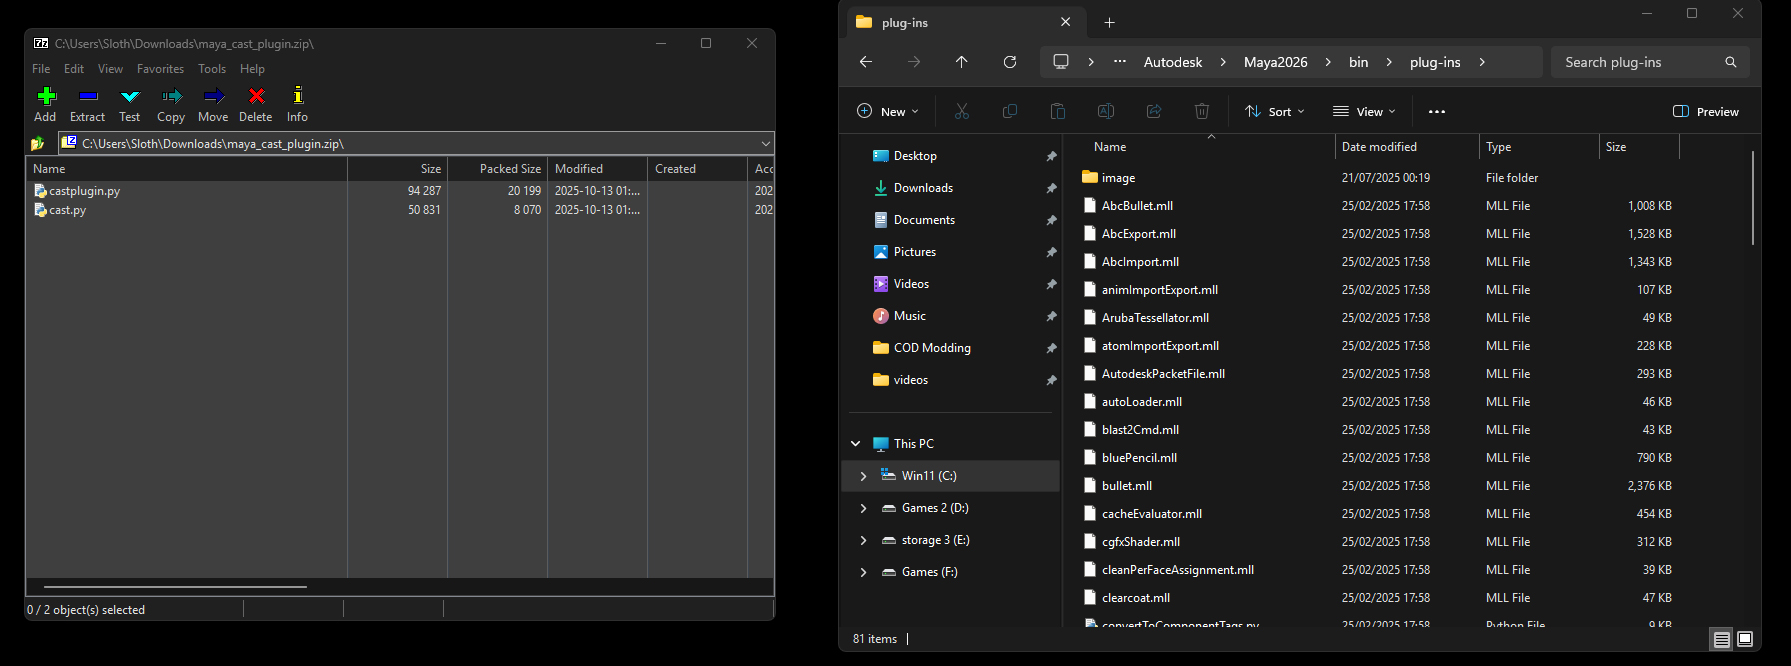
Download Cast from dtzxporter's github.
Go to your plug-ins folder e.g
Program Files/Autodesk/Maya2026/bin/plug-ins, open the zip and move all files into the plug-ins folder.
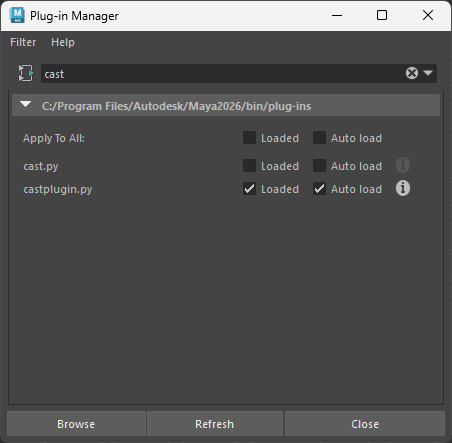
- In Maya go to windows tab at the top, then "Settings/Preferences" > "Plug-in Manager".

- Search "cast" and tick "castplugin.py".
Setting Up ManyAnims (FINISH)
How to install ManyAnims!
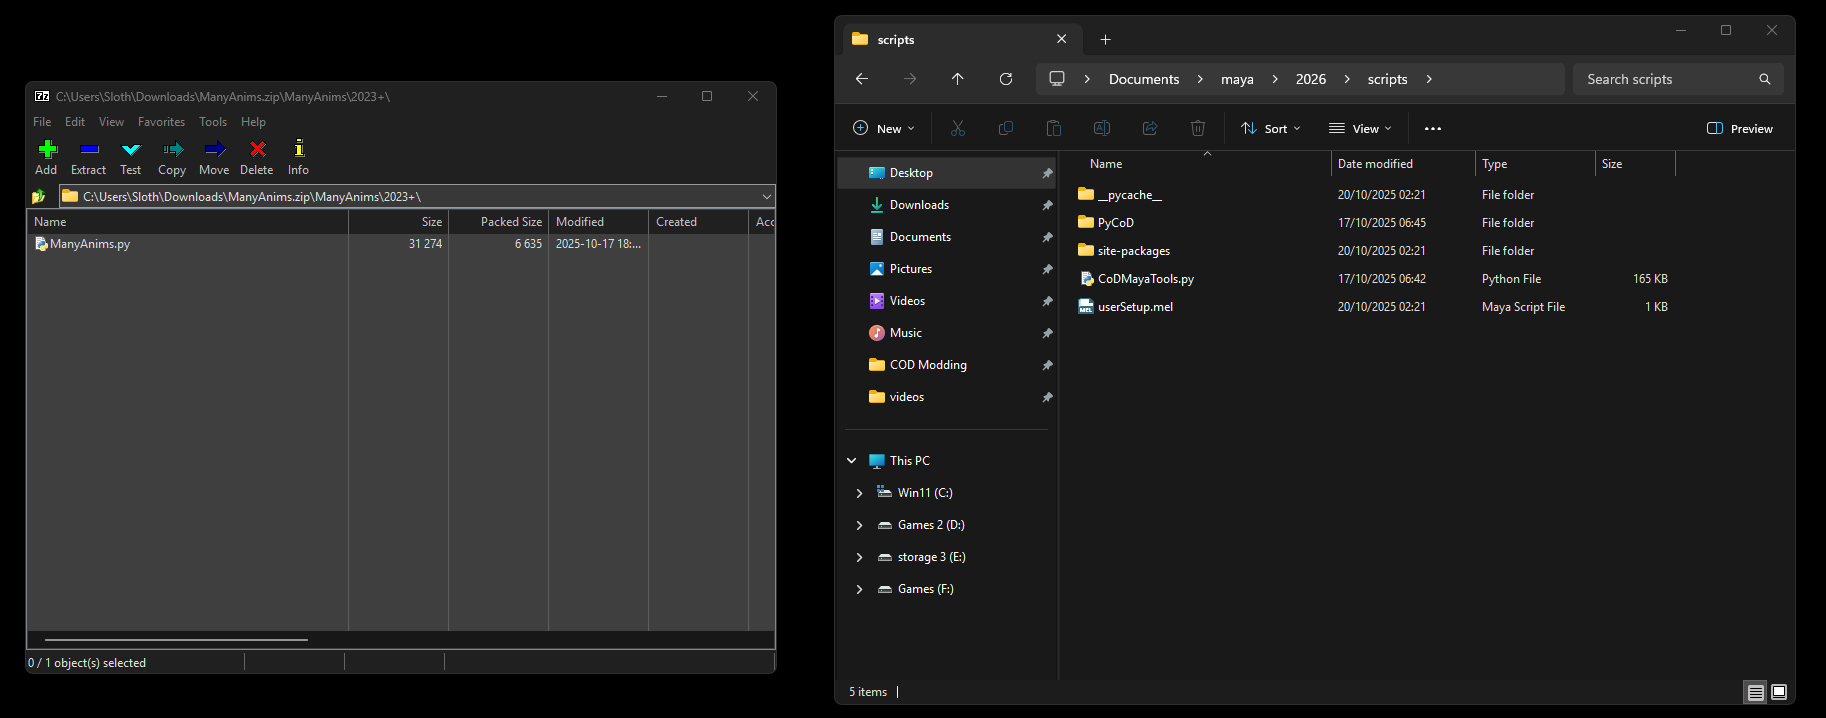
Download ManyAnims from ManyAsset github
Head to your scripts folder located in documents e.g
Documents/maya/2026/scripts, open the zip go to the 2023+ folder and move the file into the scripts folder.
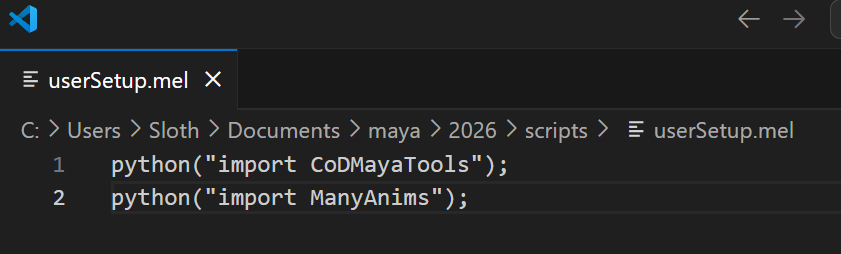
- Open your
userSetup.melfile and addpython("import ManyAnims");then save and close.
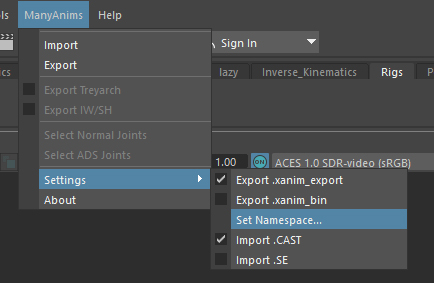
- Restart Maya if you have it open, once maya is open you should see a tab at the top of your screen called "ManyAnims", By default
xanim_exportandcastwill be enabled.
Using Saluki
How to use Saluki!
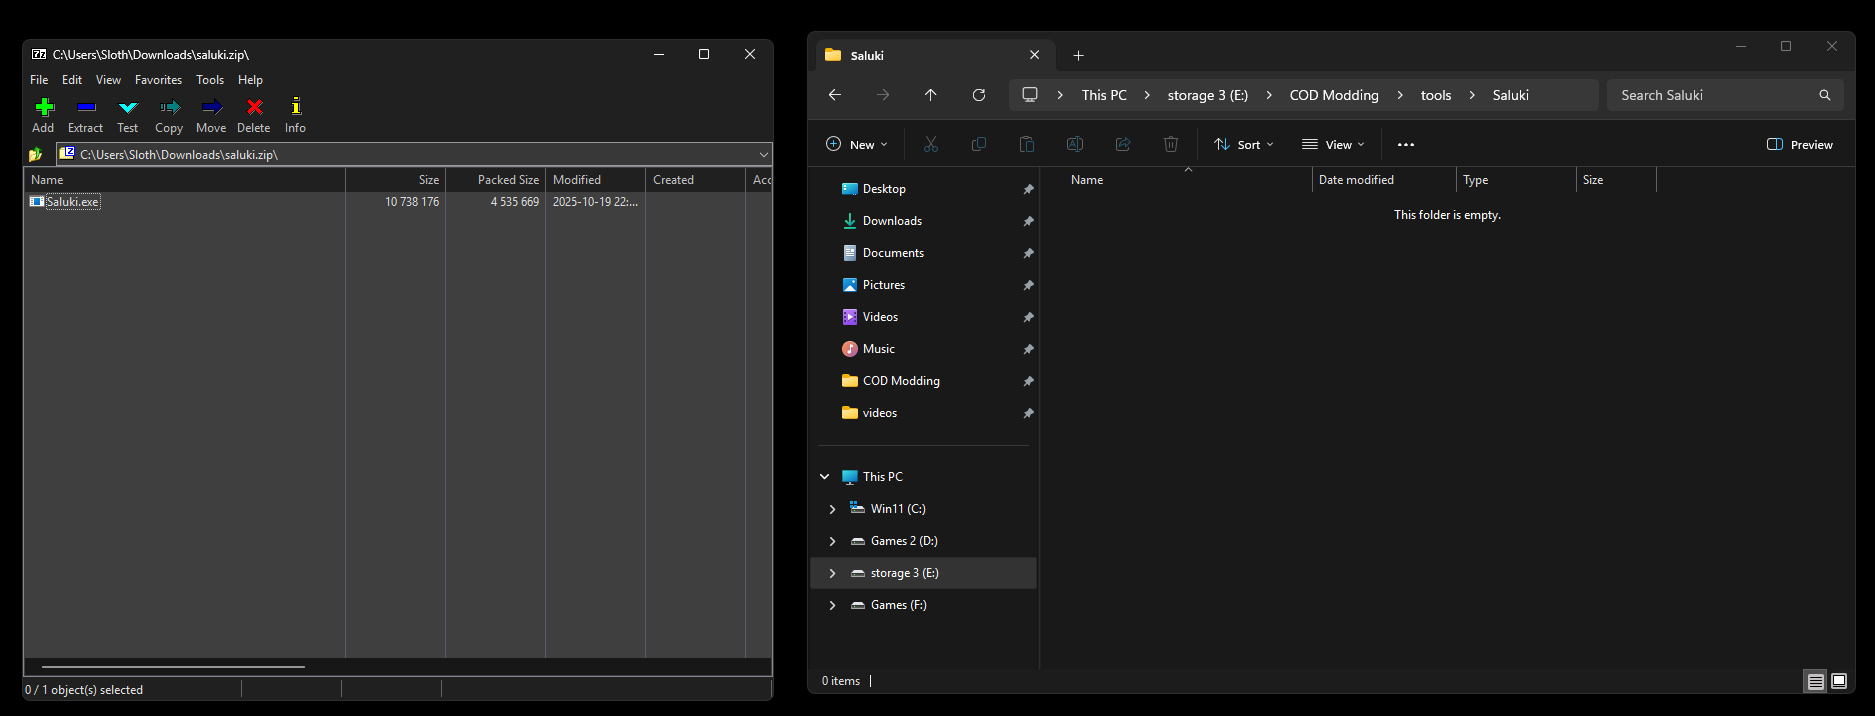
Download Saluki from saluki-releases github
Move the exe into its own folder.
- Run Saluki and head to settings.
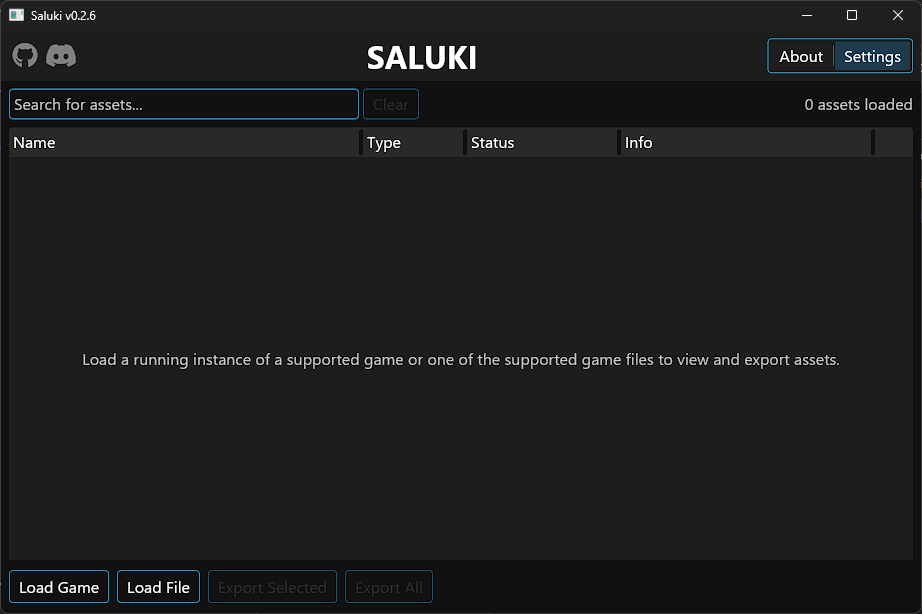
- There you can select what type of assets you want to export.
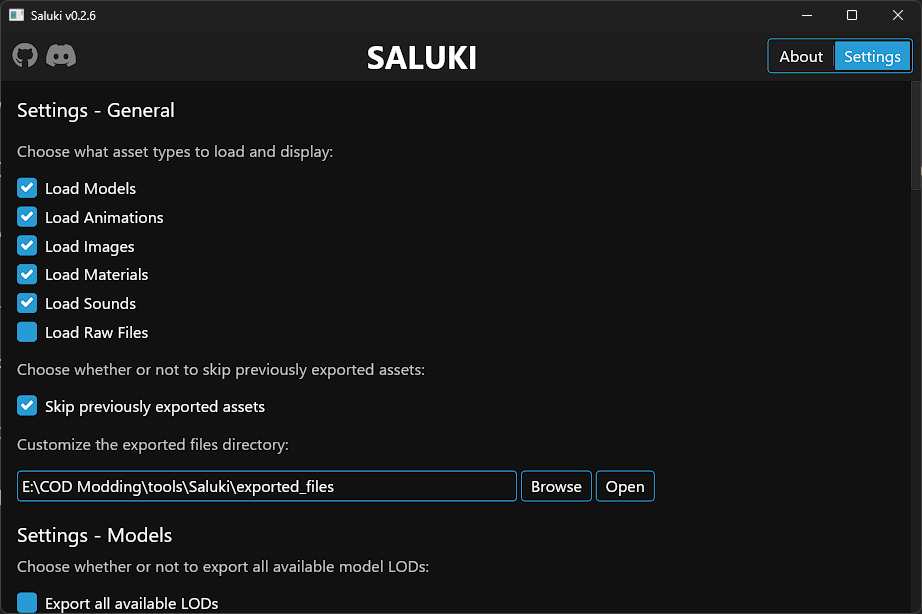
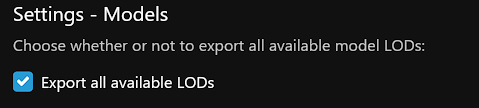
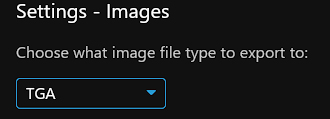
- Settings that I use are exporting all avaliable LODs, image type .TGA and Strip directory from material path. You can check other settings if you wish.

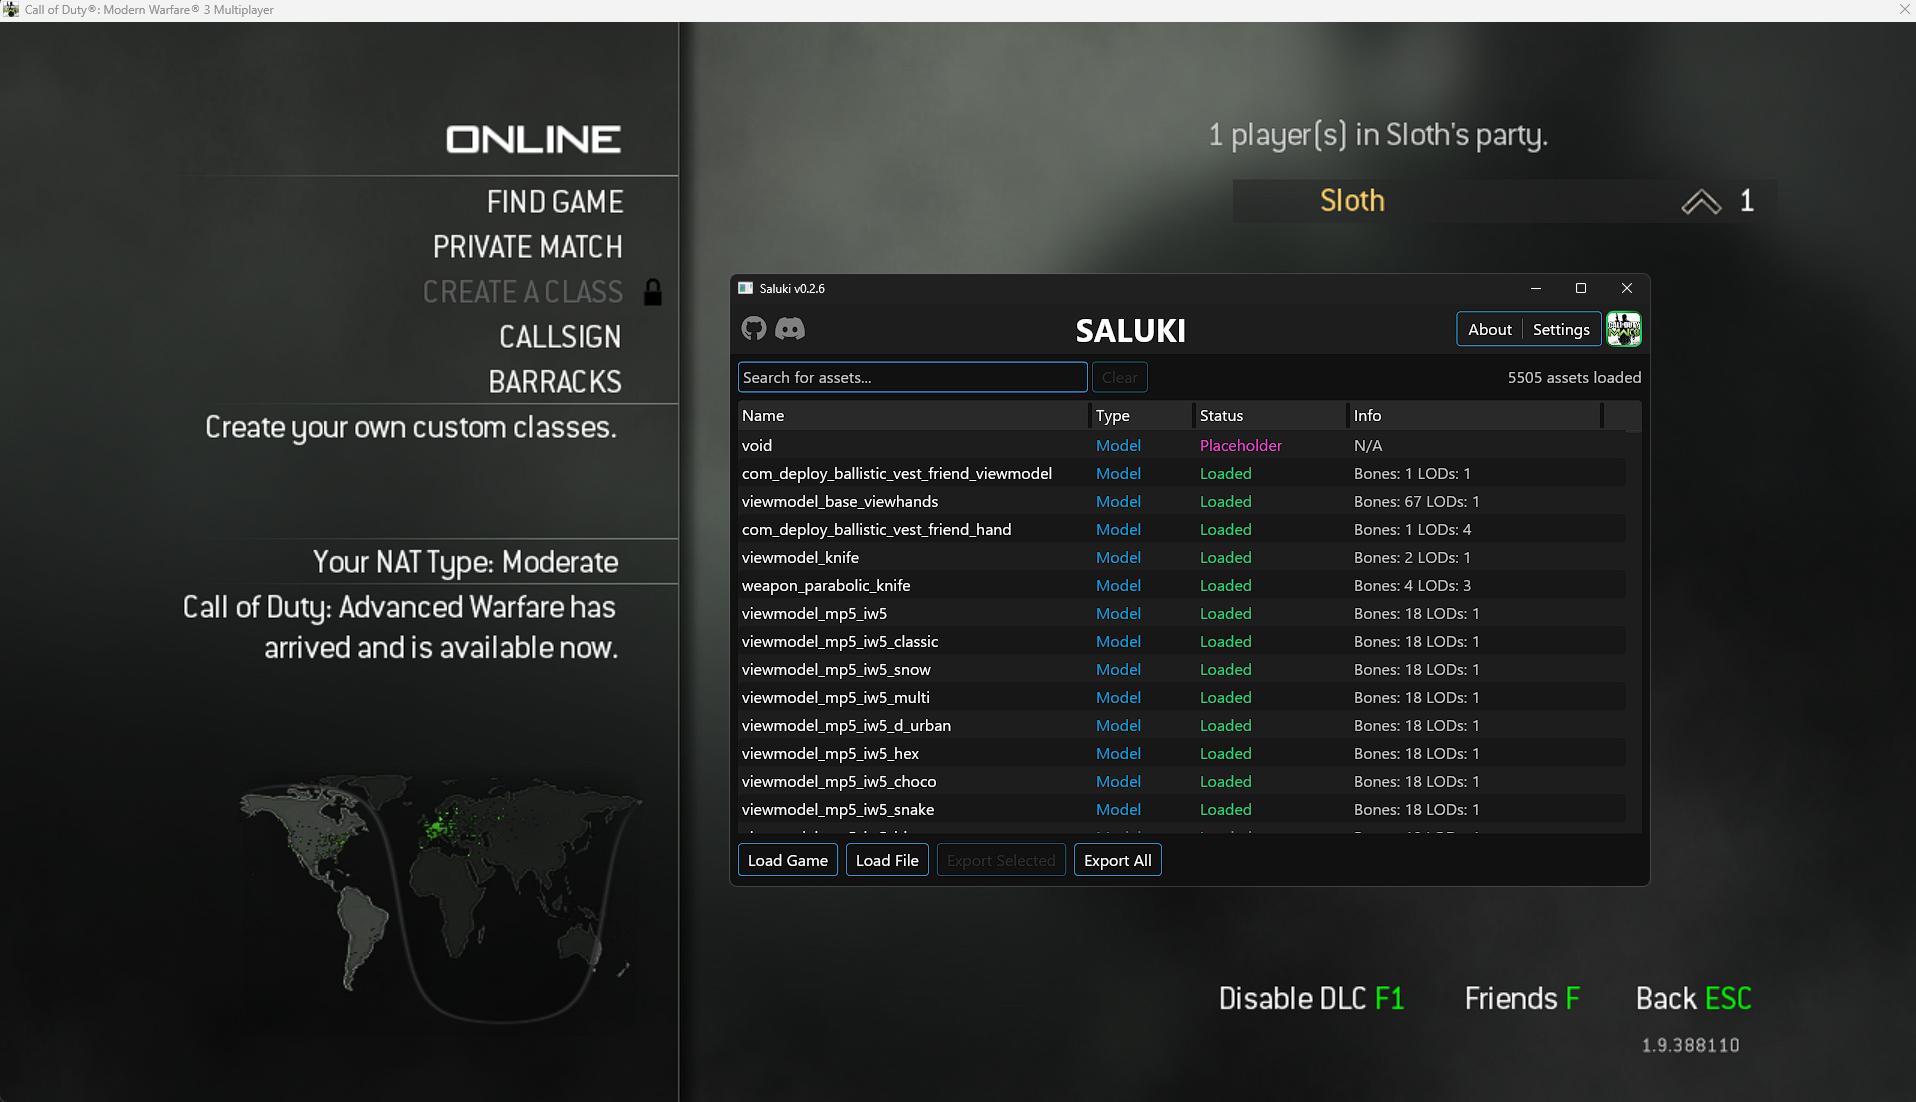
- After you're done with your settings, simply run the game you want to export from and click "Load Game" in Saluki.
REMEMBER if you're porting from a game with ricochet anti-cheat you HAVE to use Cordycep or you will get banned!
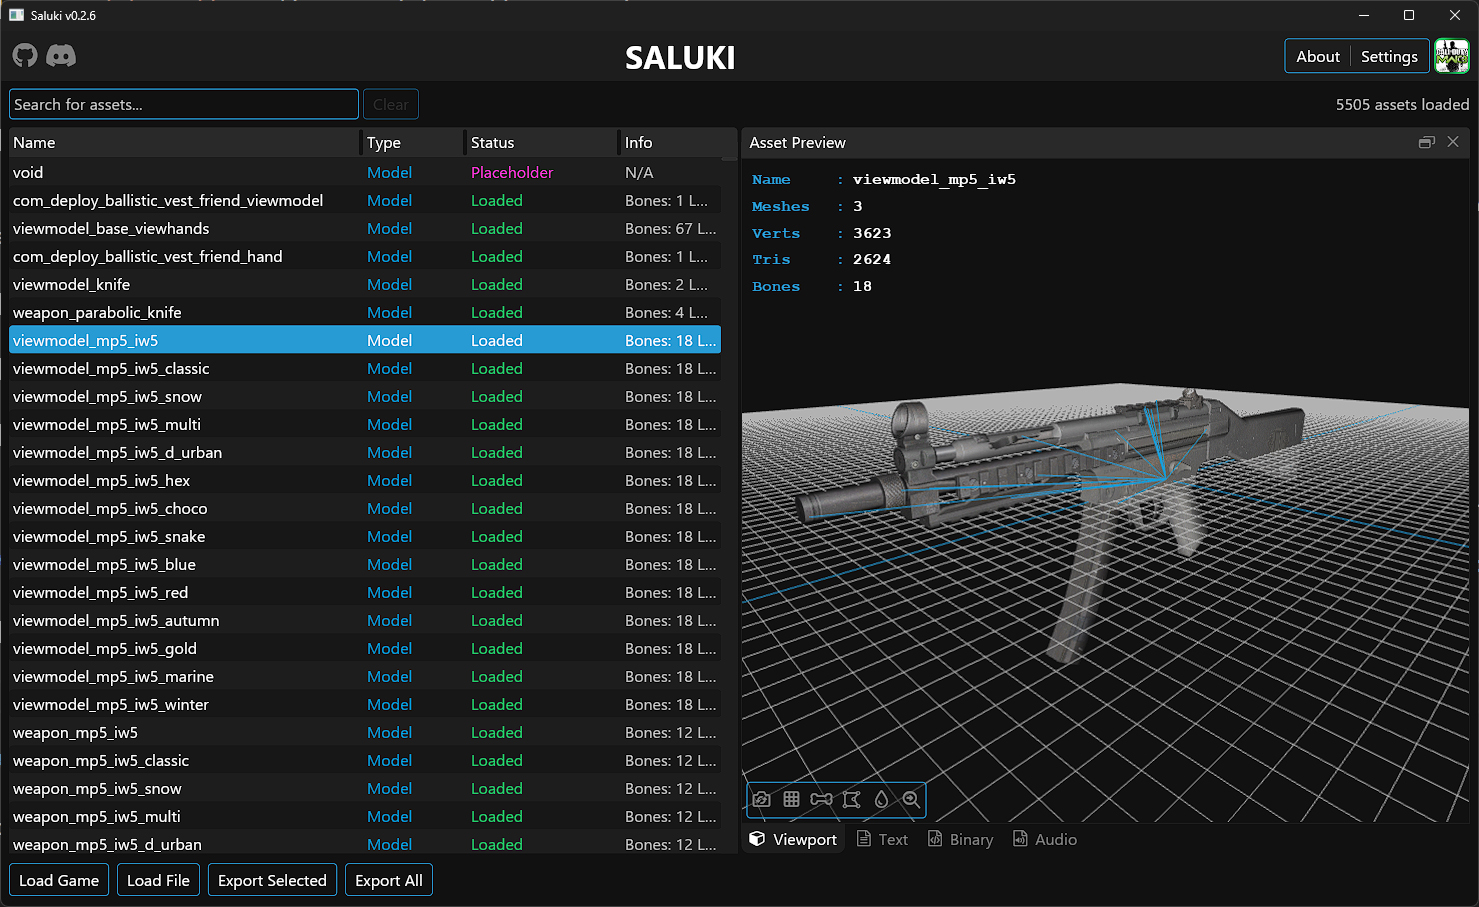
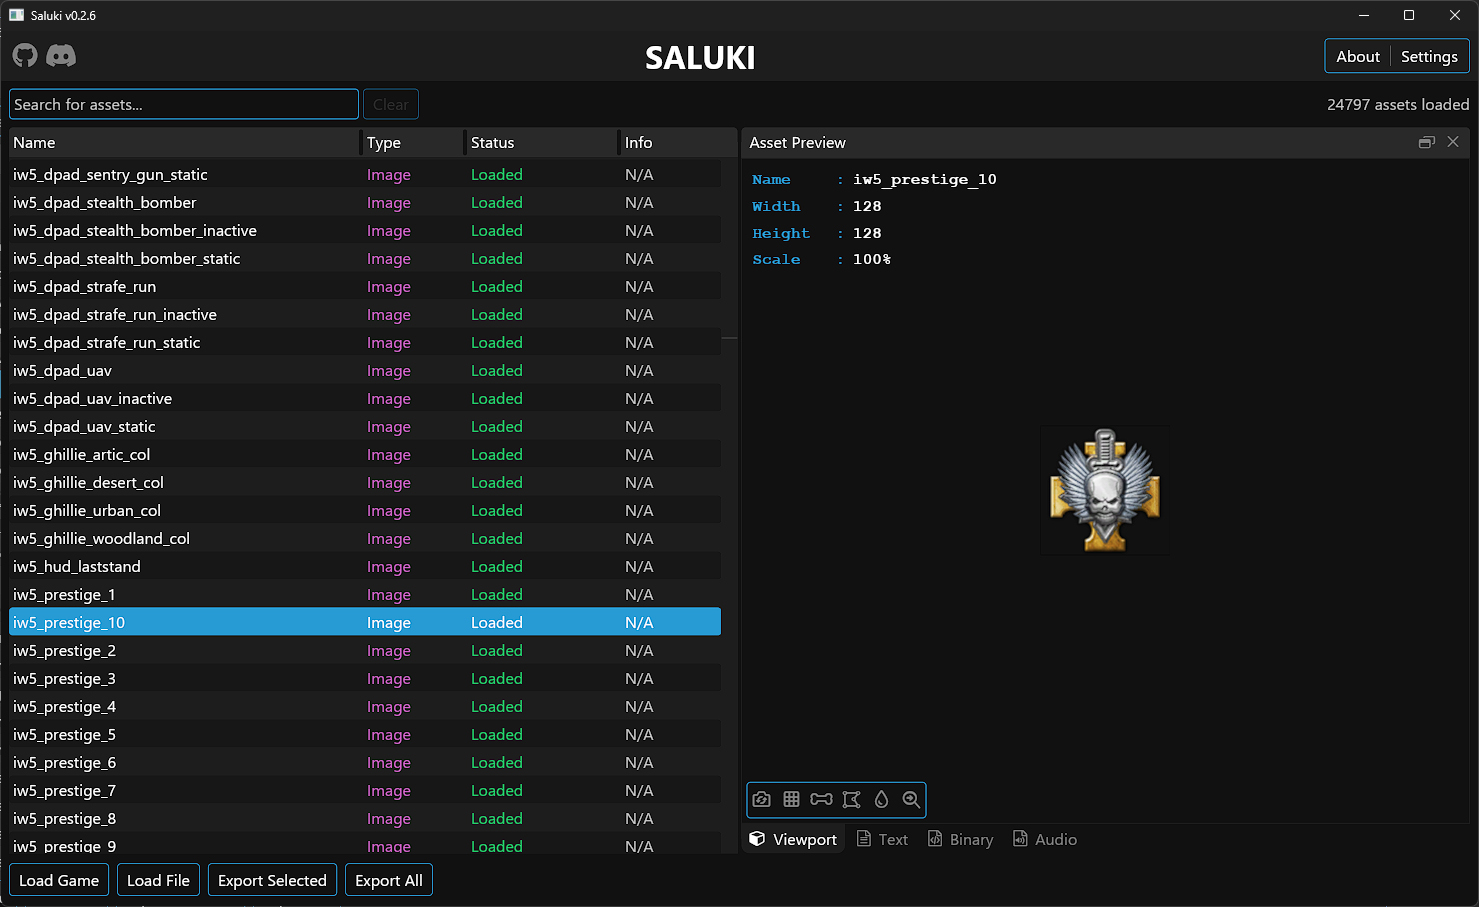
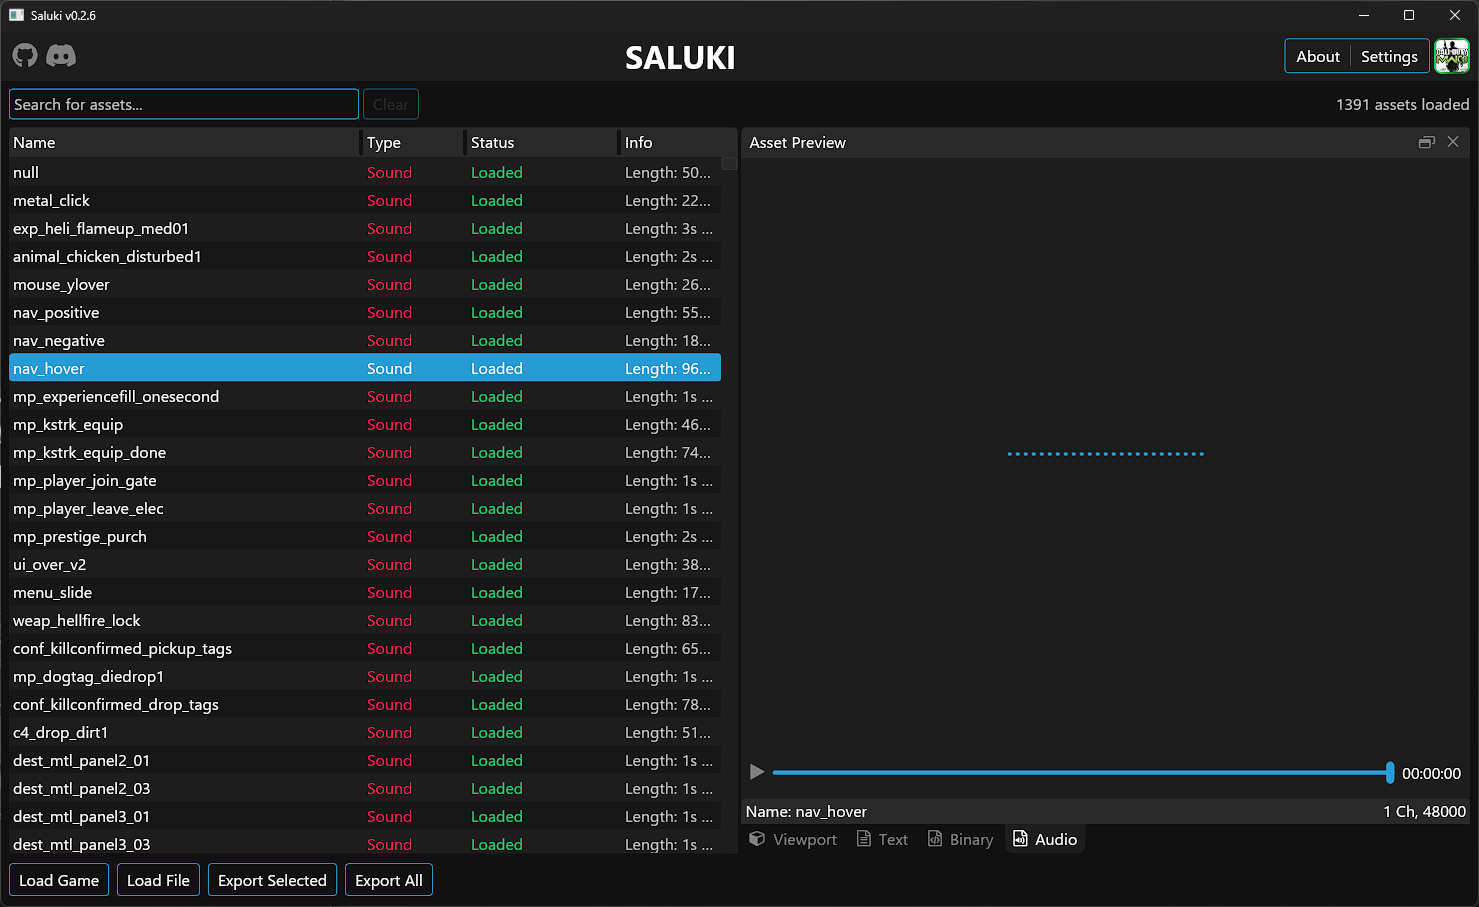
- You can also preview most to all assets with Saluki by pressing the letter "P" on your keyboard.
Note: for older COD games, if all their assets don't get loaded you will need to load their IWDs with "Load File" and selecting the IWDs.
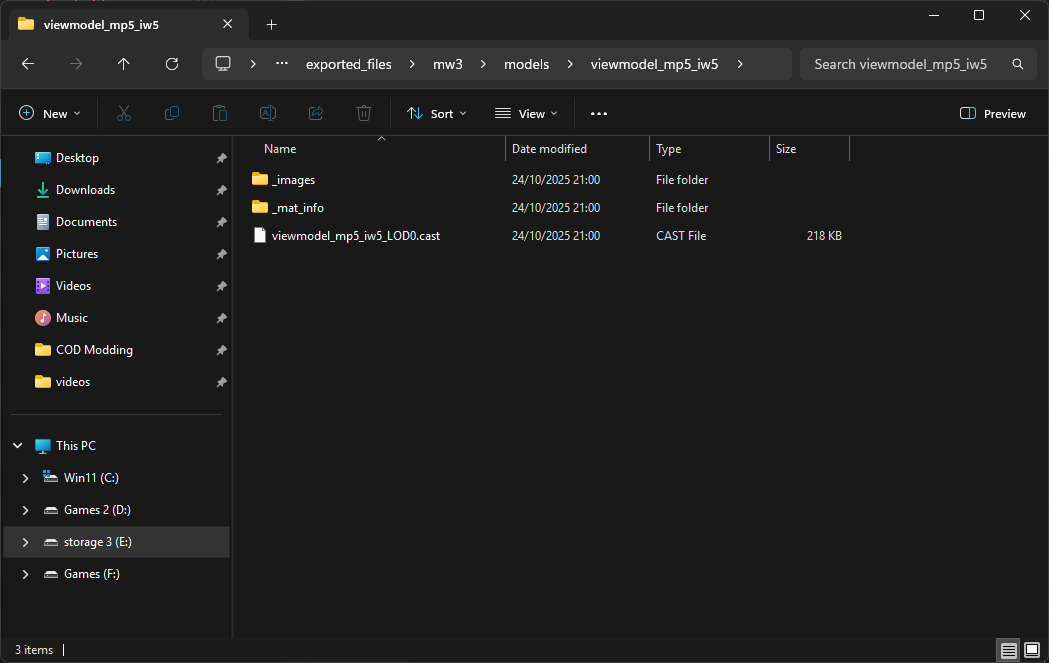
Once you've exported the assets you wanted, head to the
exported_filesfolder in root folder of where Saluki is, there you should see the name of the game you exported from and the assets inside.
Using Cordycep
How to use Cordycep!
Download Cordycep from Dest1yo's discord server under the tools channel.
Move the files into their own folder.

Cordycep (COD: Online)
- Download Cordycep (COD: Online) from Cordycep-rs-releases github
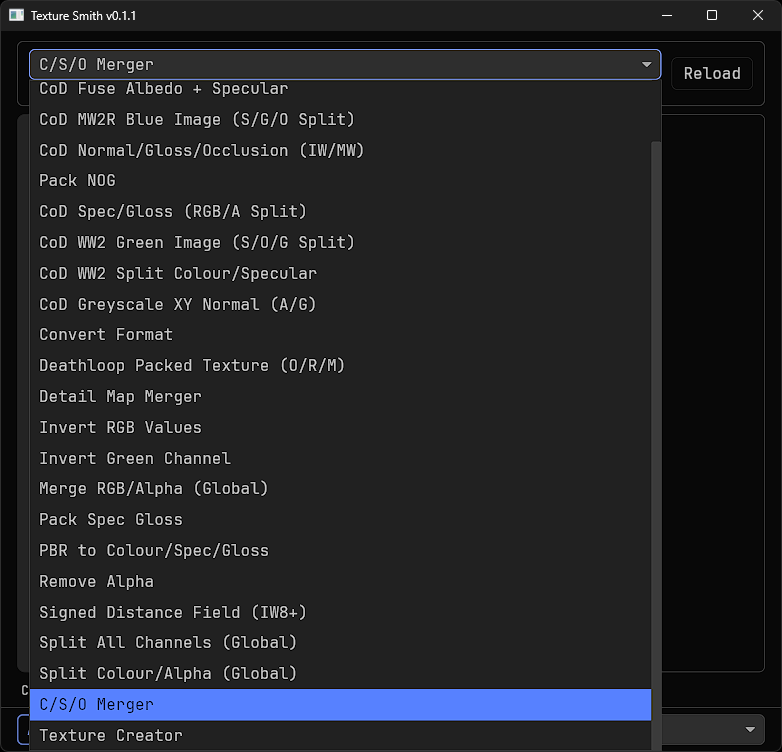
Using Texture Smith (TS)
How to use Texture Smith (TS)!
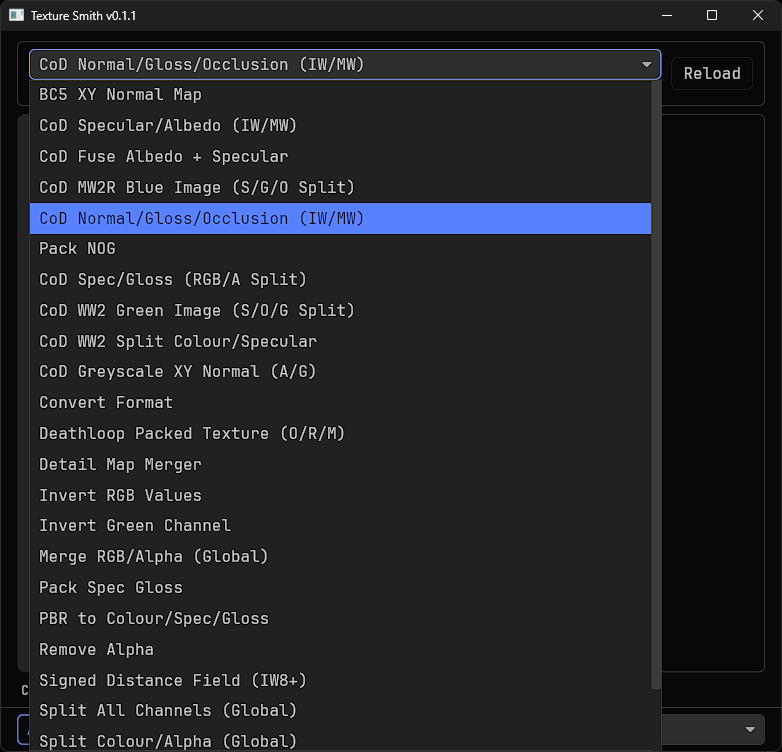
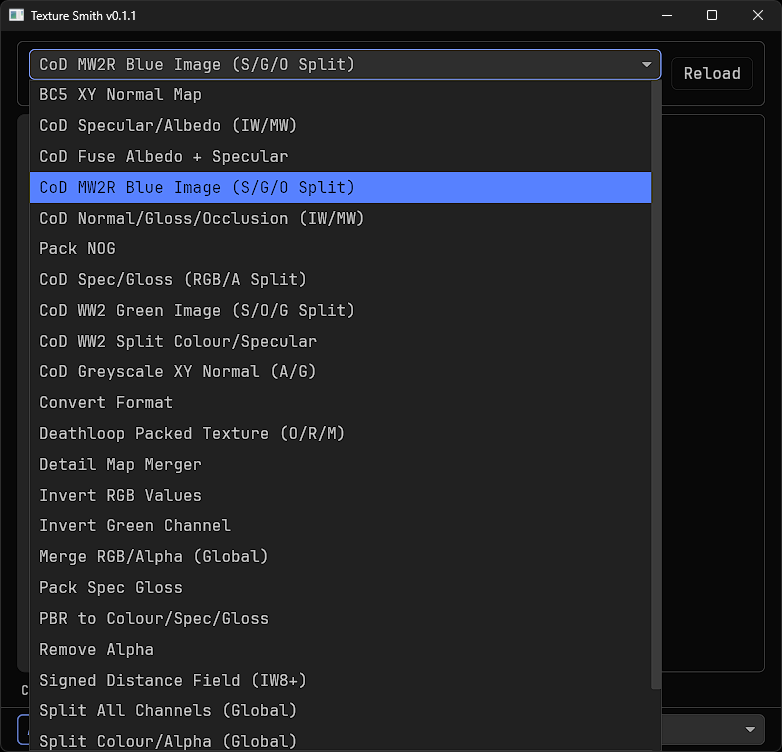
- When you run Texture Smith for the first time it will look like this.
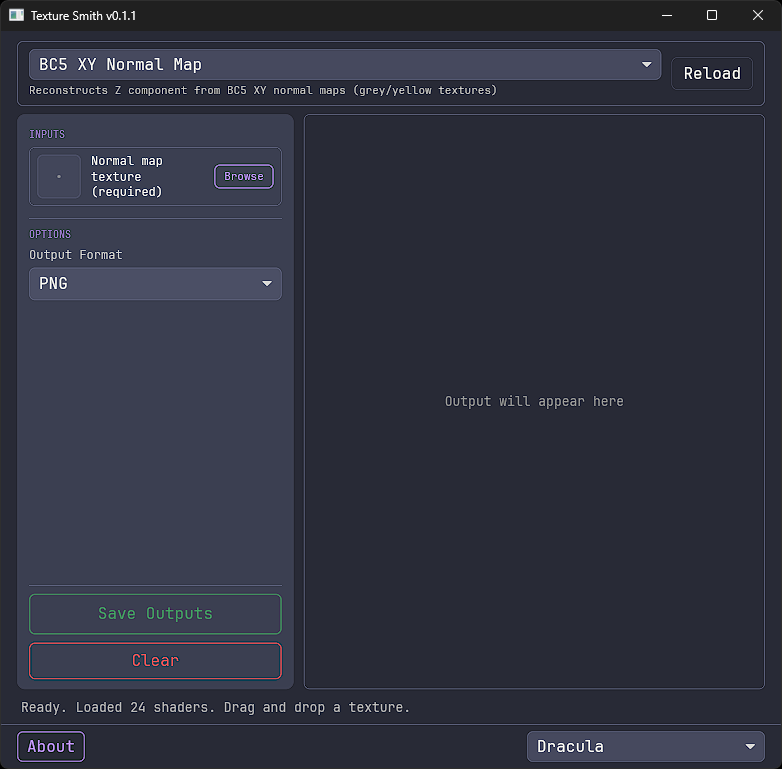
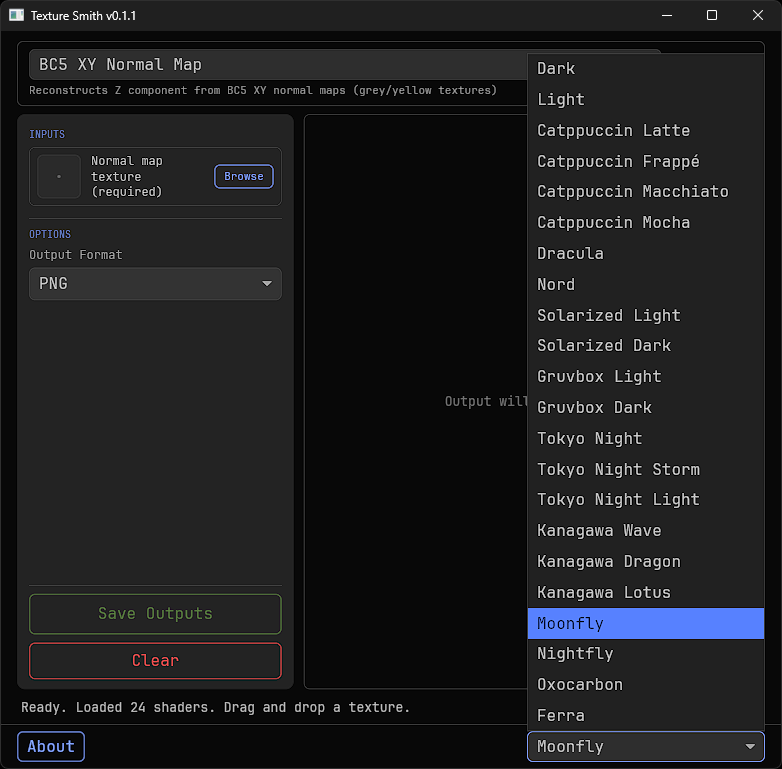
- You can change the theme of TS by clicking
Draculaat the bottom right corner, I like Moonfly so I will be show it with that theme from now on, pick whatever you like.
CoD Spec/Gloss (RGB/A Split)
How to split Specular!
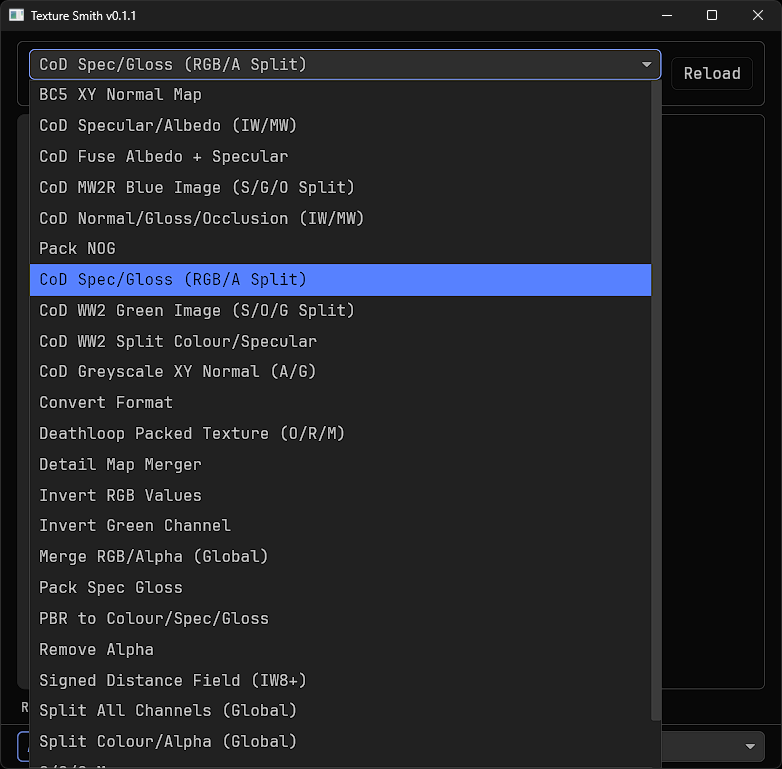
In TS Select
Spec/Gloss (RGB/A Split)in the drop down top left.
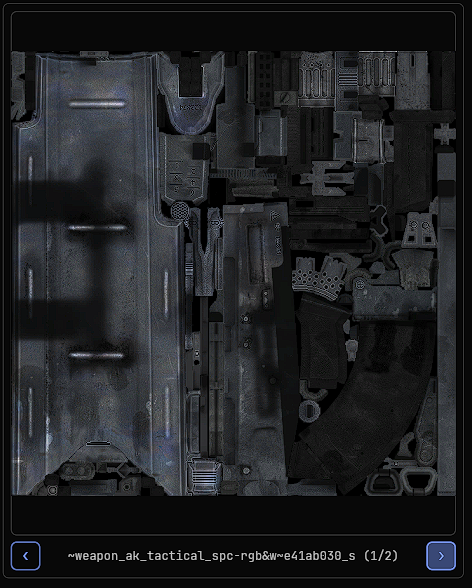
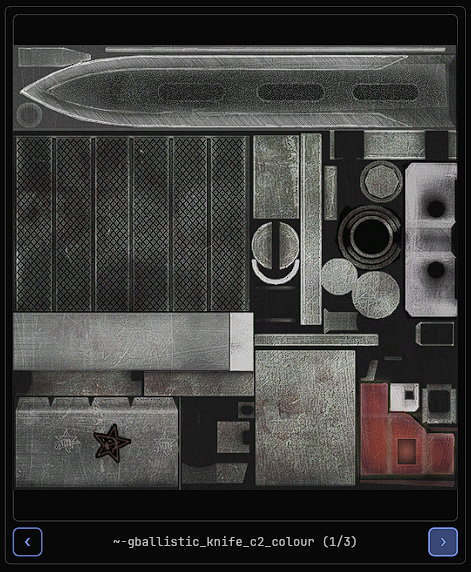
- Once selected, drag and drop the specular into TS.
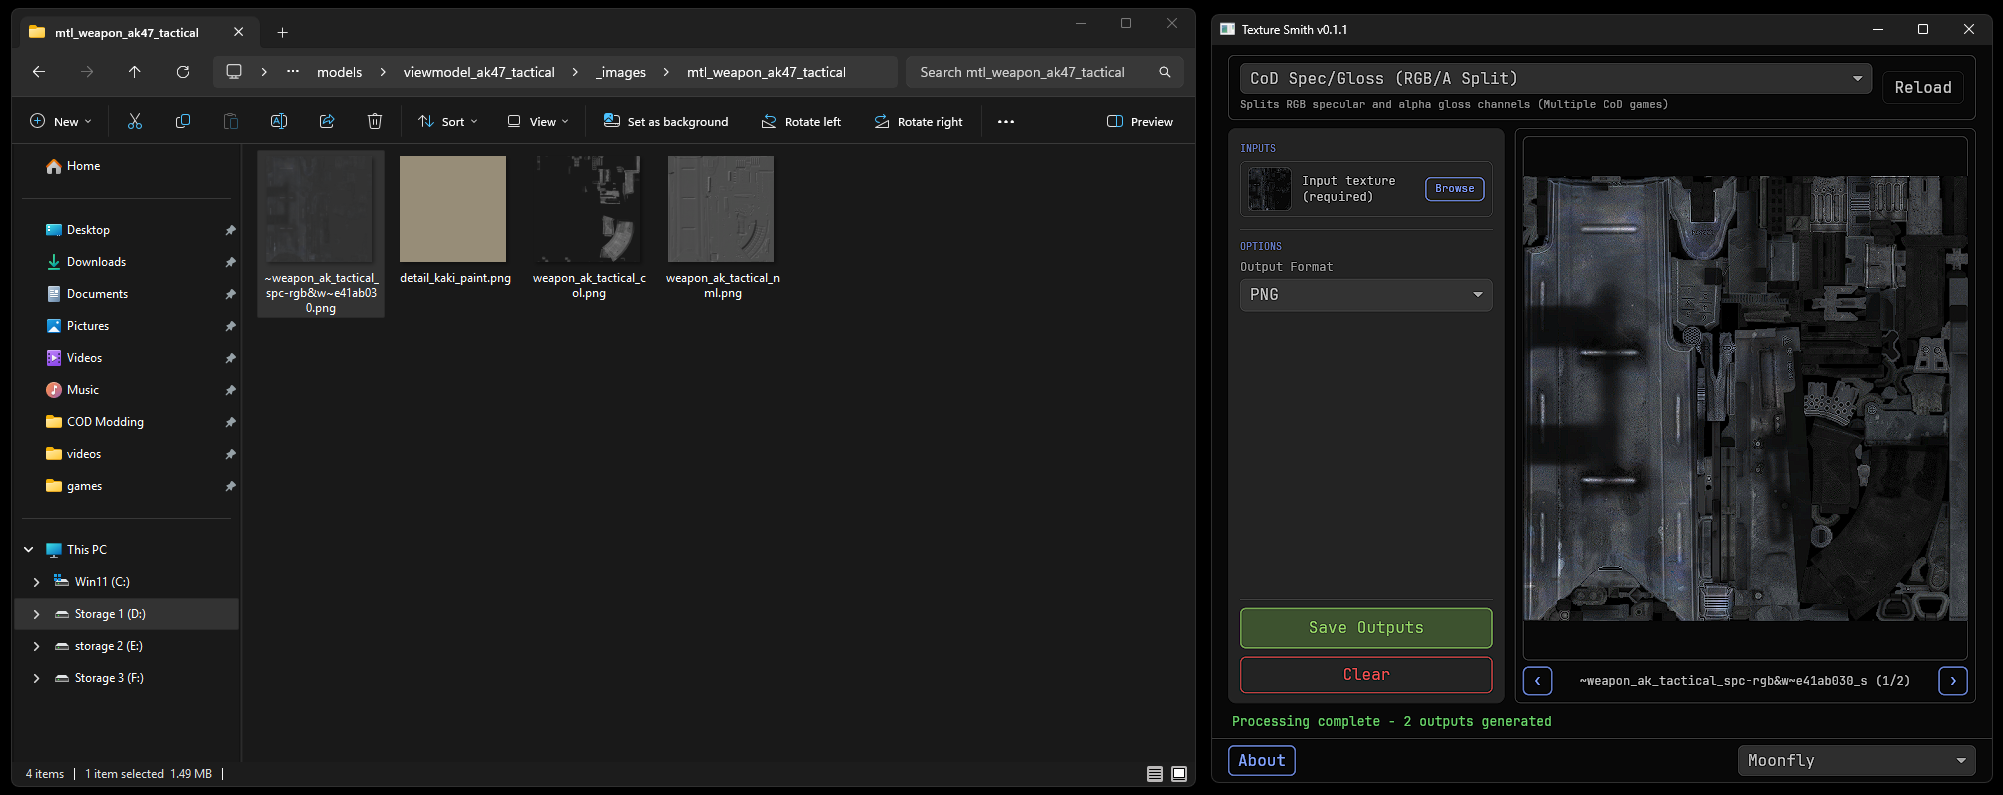
- You should see a preview of the converted textures, you can click on the left and right buttons to see both images.
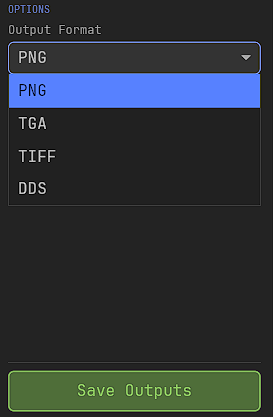
- When you're ready to export your textures pick the format you want and click "Save outputs".
- Your converted textures should export where you imported them from with _s and _g.
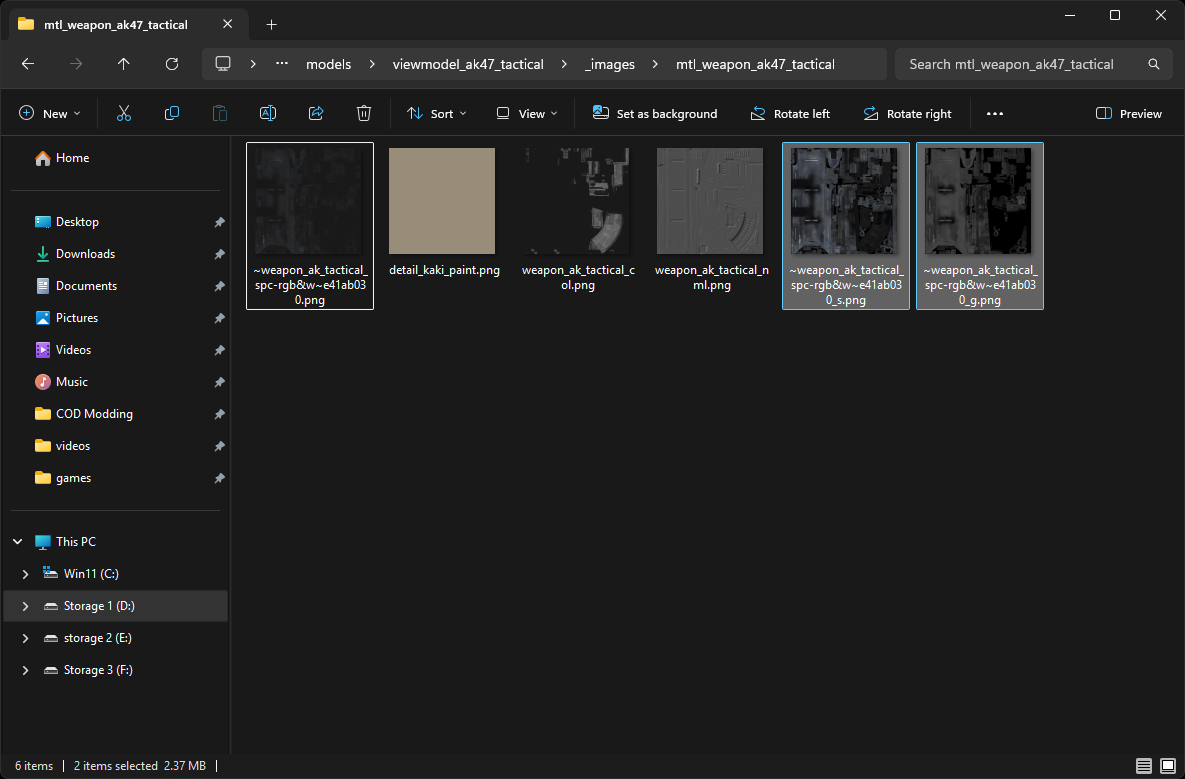
- You can now delete the original packed specular and use the split spec and gloss!
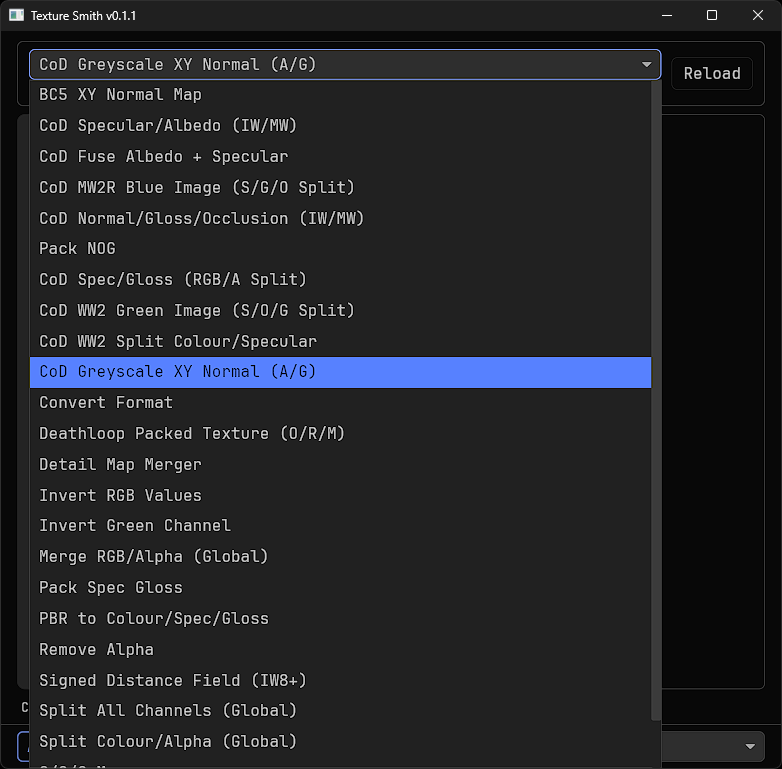
CoD Greyscale XY Normal Map (A/G)
How to convert Greyscale XY Normal Map!
In TS Select
CoD Greyscale XY Normal Map (A/G)in the drop down top left.
- Once selected, drag and drop the specular into TS.
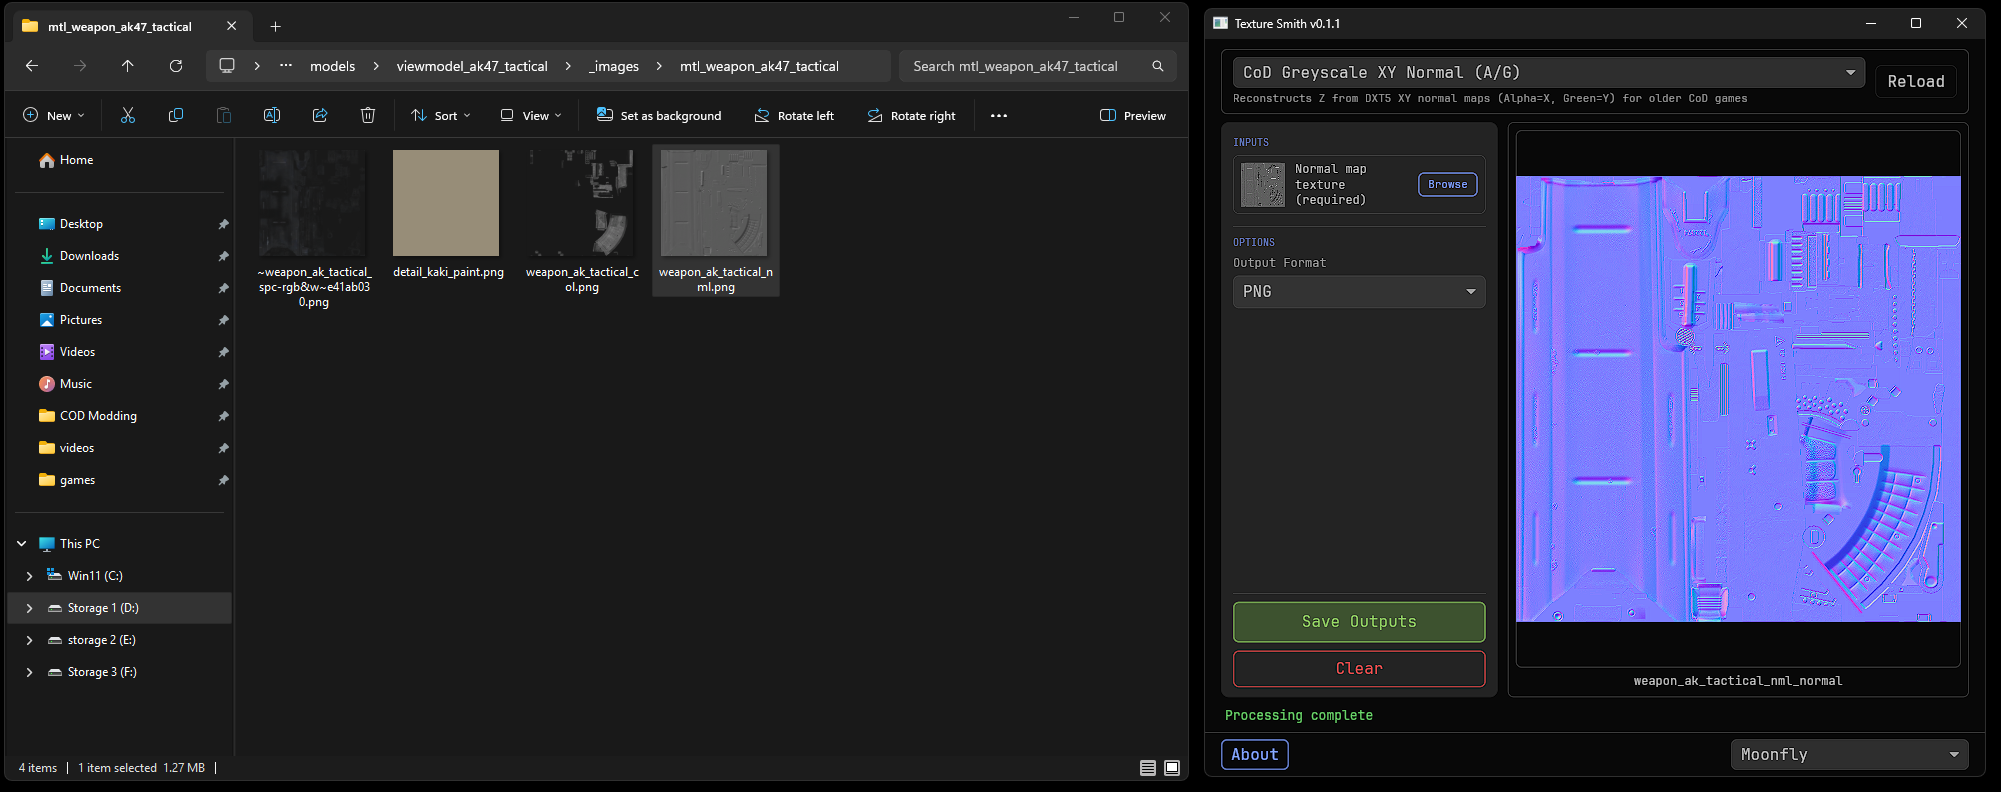
- You should see a preview of the converted texture.
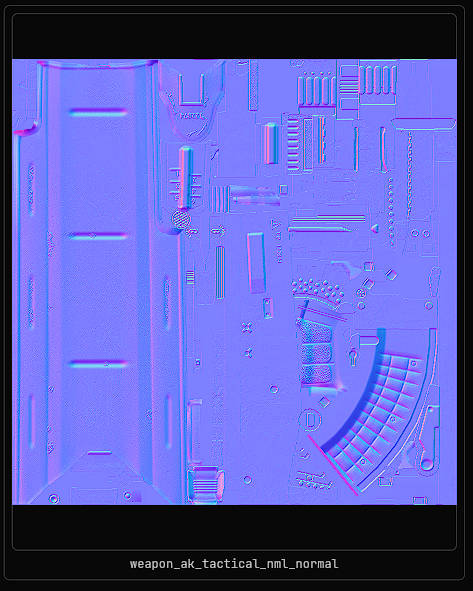
When you're ready to export your texture pick the format you want and click "Save outputs".
- Your converted texture should export where you imported it from with _normal.
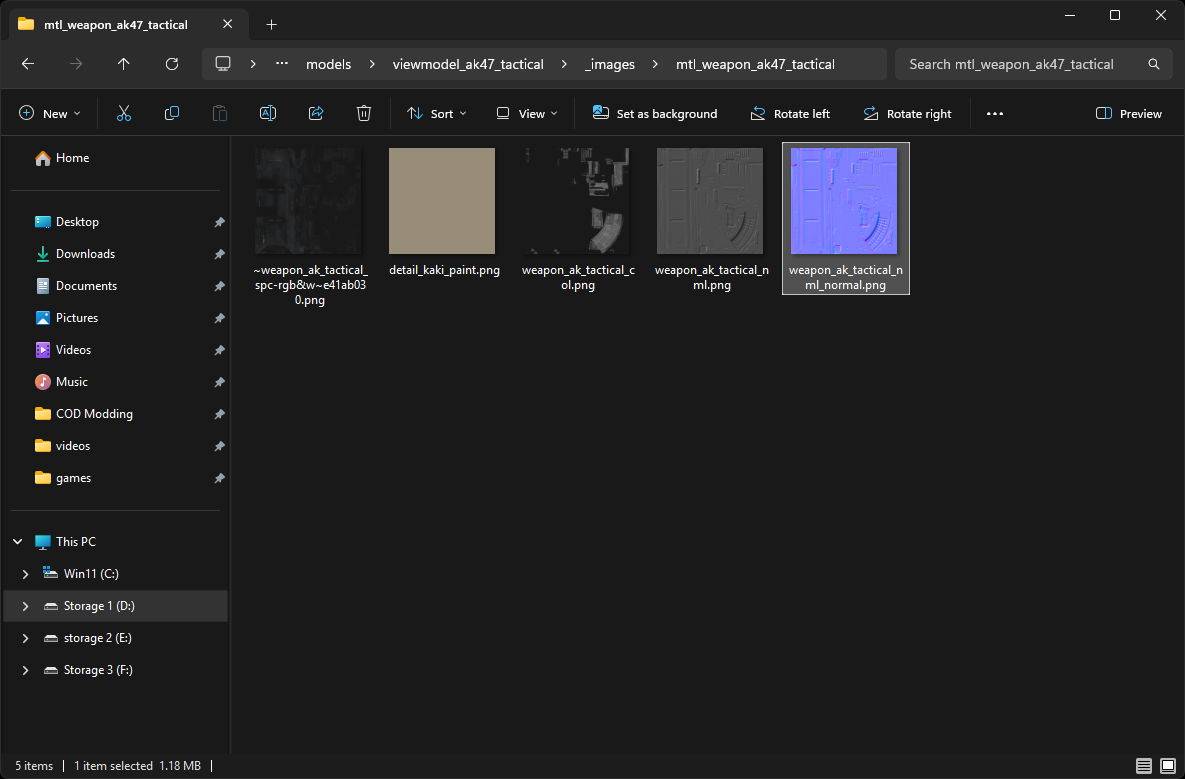
- You can now delete the original normal map and use the converted one!
Detail Map Merger
How to merger detail map into colour
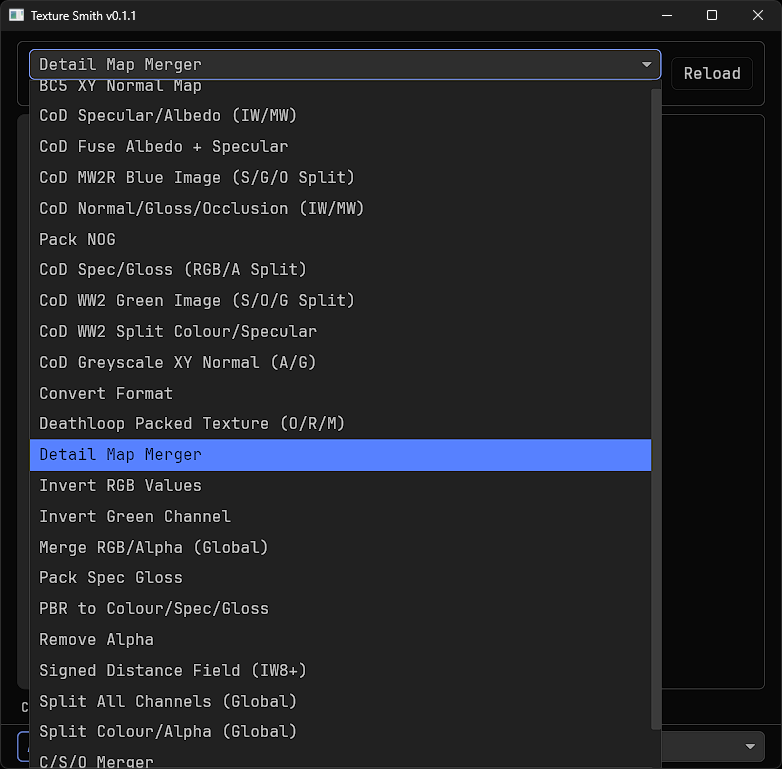
In TS Select
Detail Map Mergerin the drop down top left.
- Once selected, drag and drop the colour first then the detail map into TS, next set the Detail Intensity to 0.50.
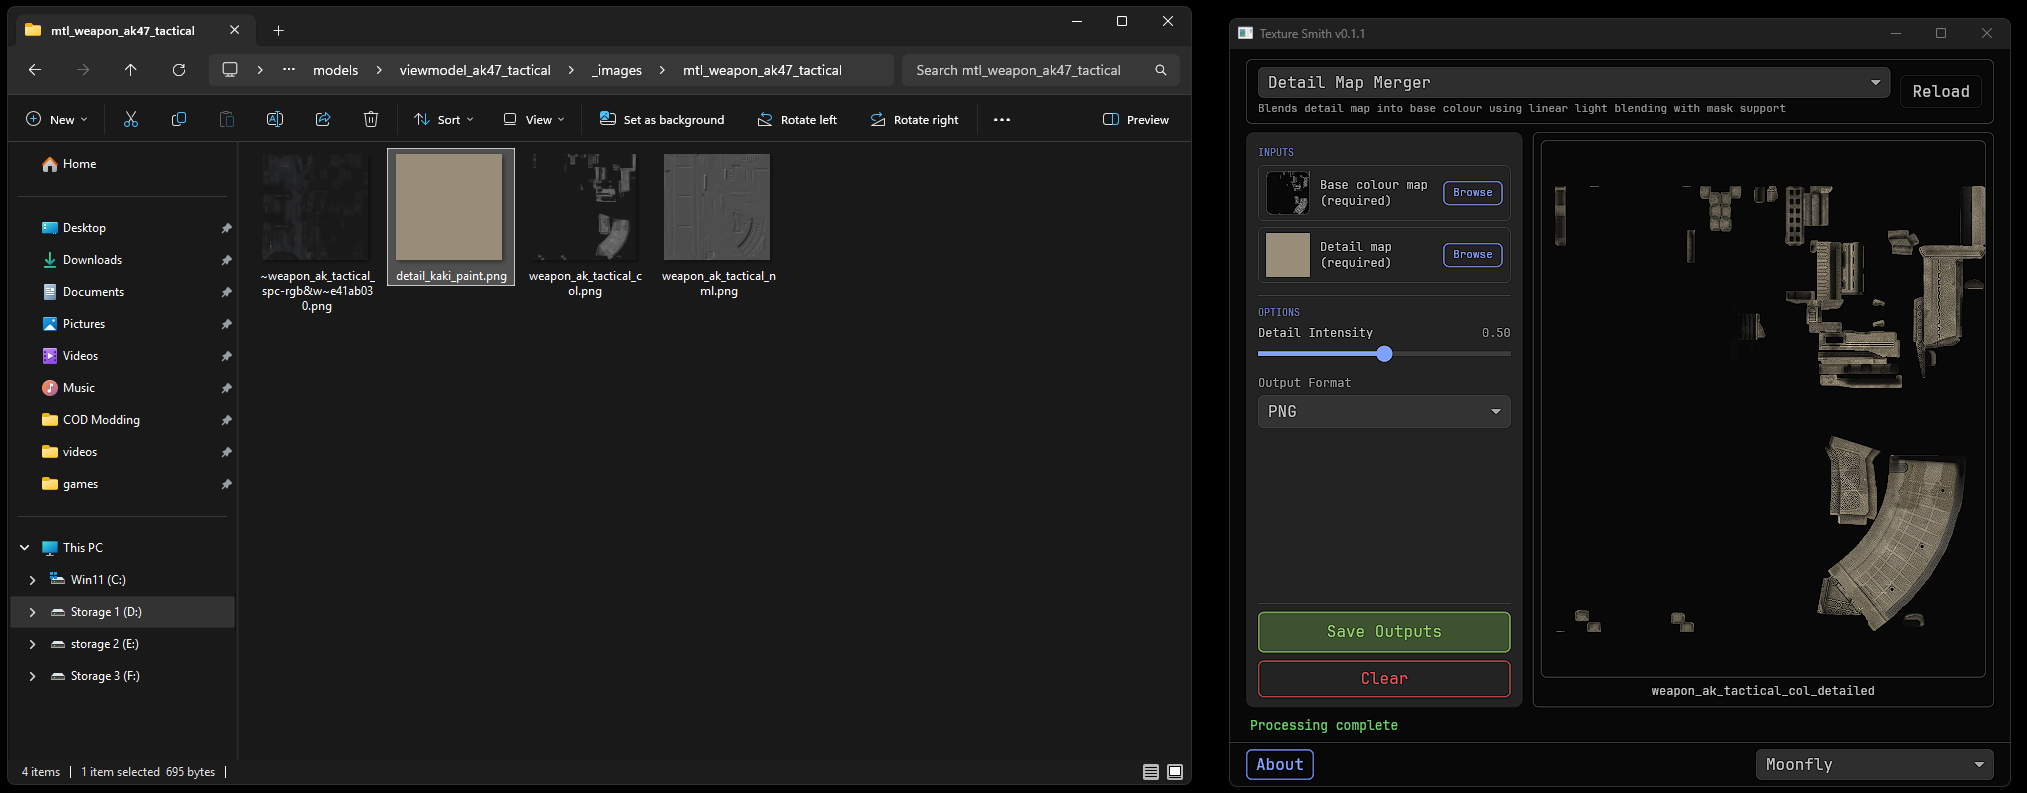
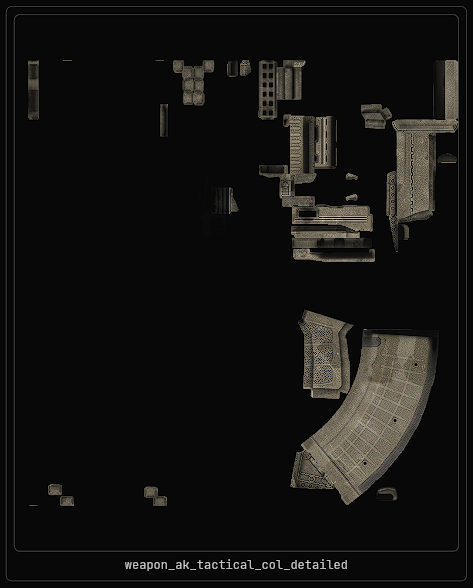
- You should see a preview of the merged texture.
- When you're ready to export your texture pick the format you want and click "Save outputs".
- Your converted texture should export where you imported it from with _detailed.
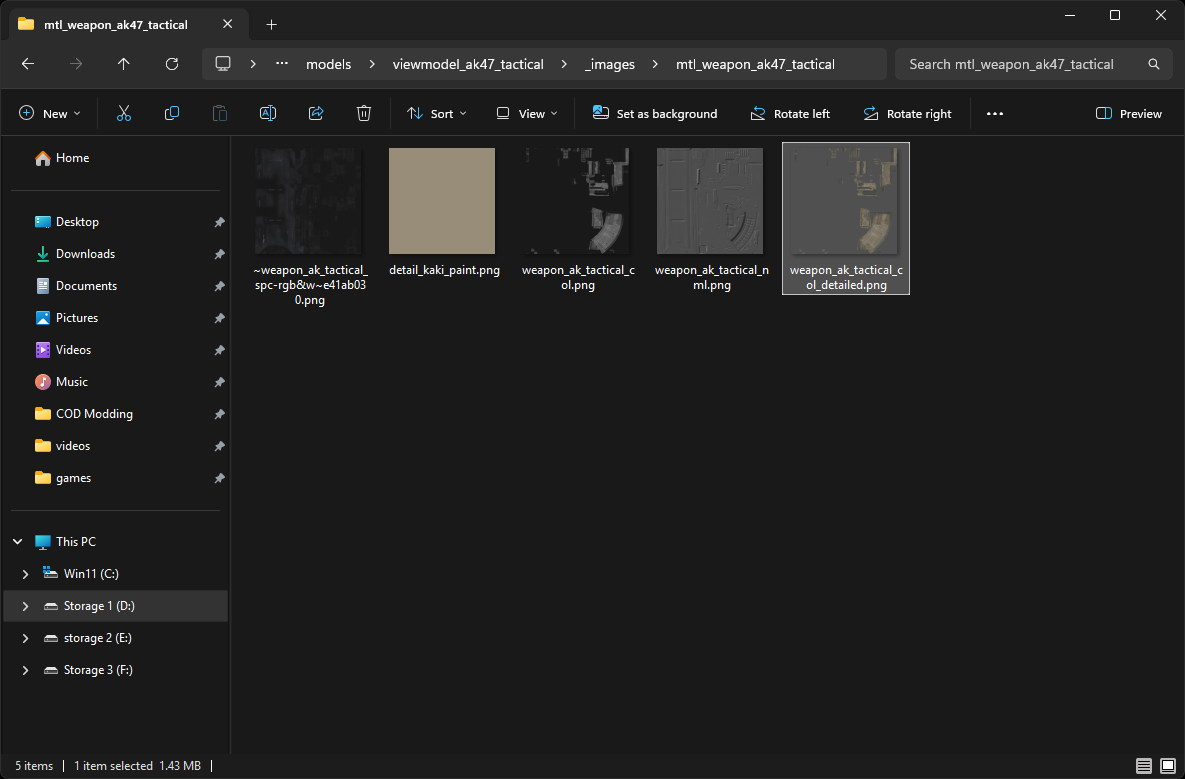
You can now delete the original colour and detail map and use the merged one!
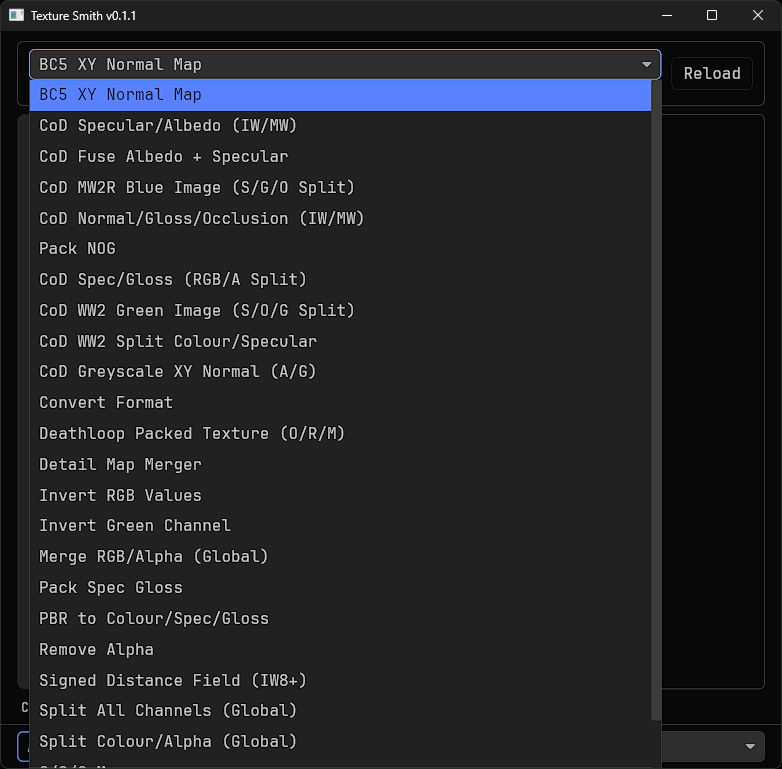
BC5 XY Normal Map
How to convert yellow XY Normal Map!
In TS Select
CoD BC5 XY Normal Mapin the drop down top left.
- Once selected, drag and drop the normal into TS.
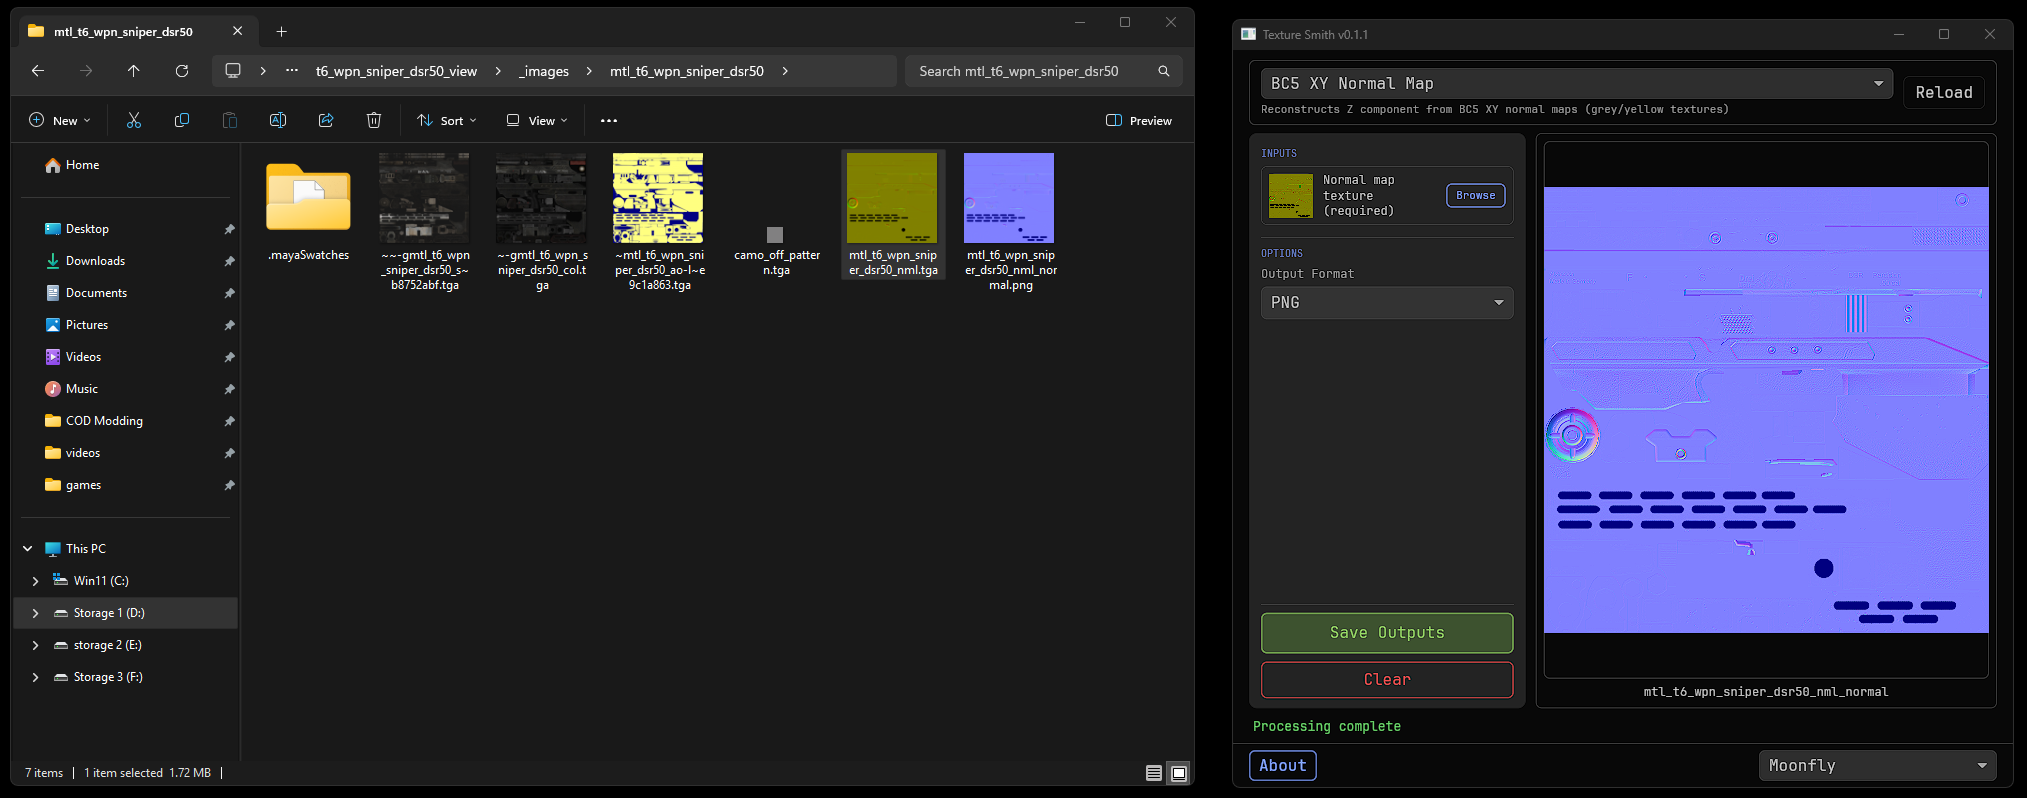
- You should see a preview of the converted texture.
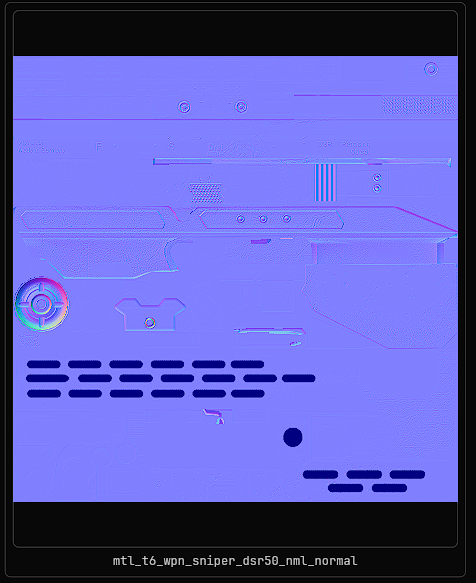
When you're ready to export your texture pick the format you want and click "Save outputs".
- Your converted texture should export where you imported it from with _normal.
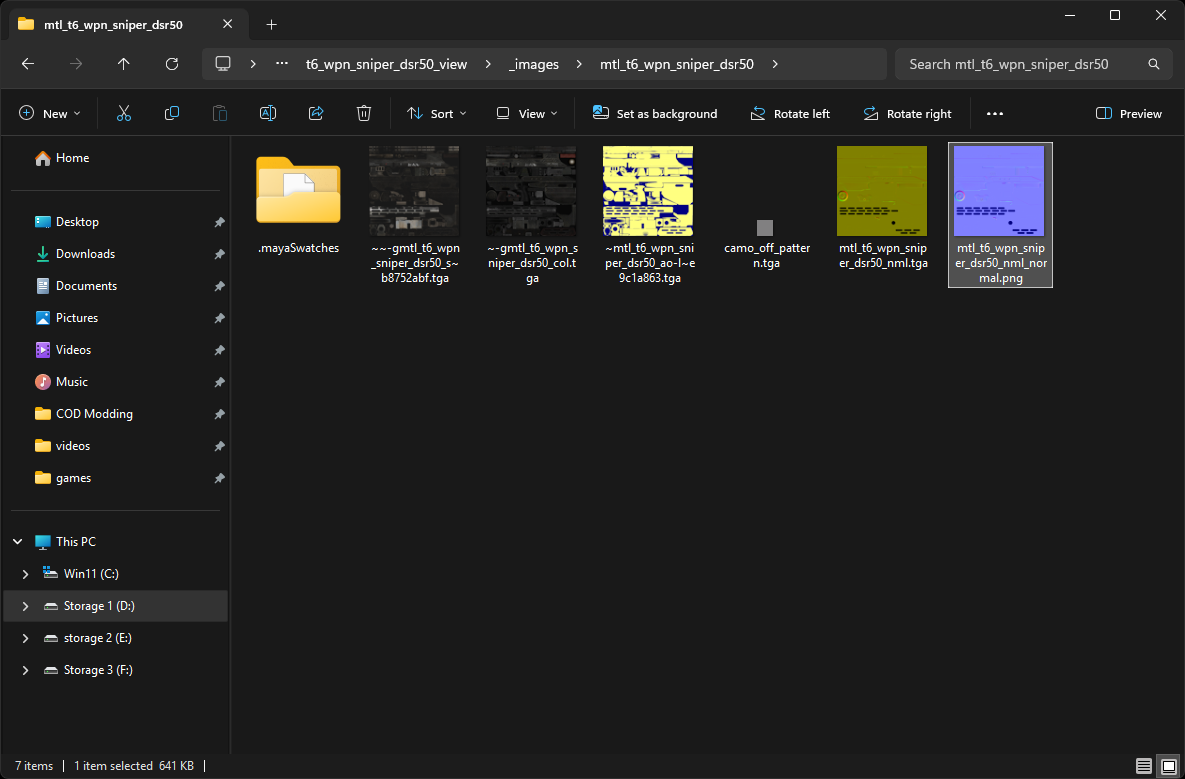
- You can now delete the original normal map and use the converted one!
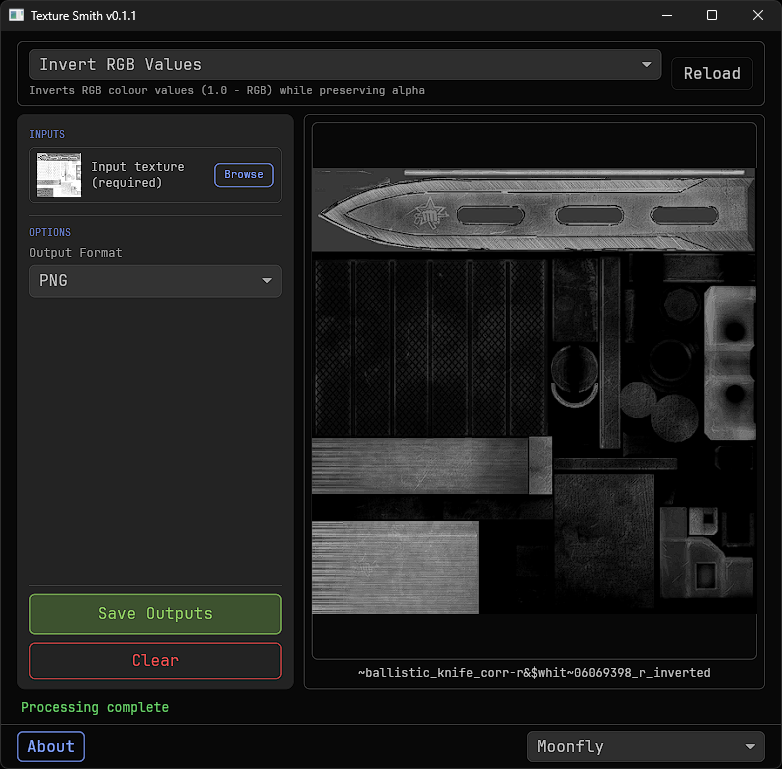
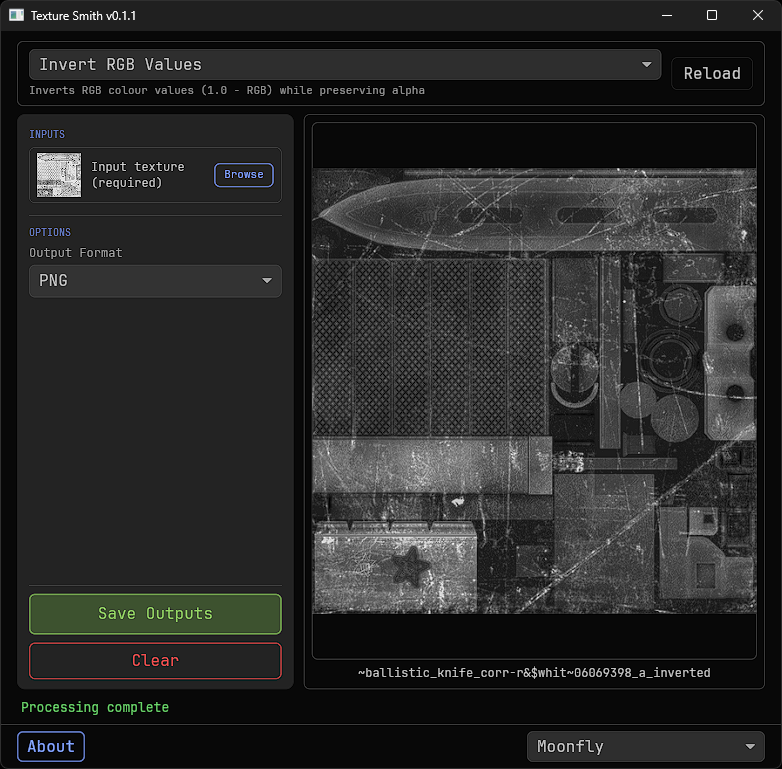
Invert RGB Values
How to
Invert roughness (gloss/cosine)In TS Select Invert RGB Values in the drop down top left.
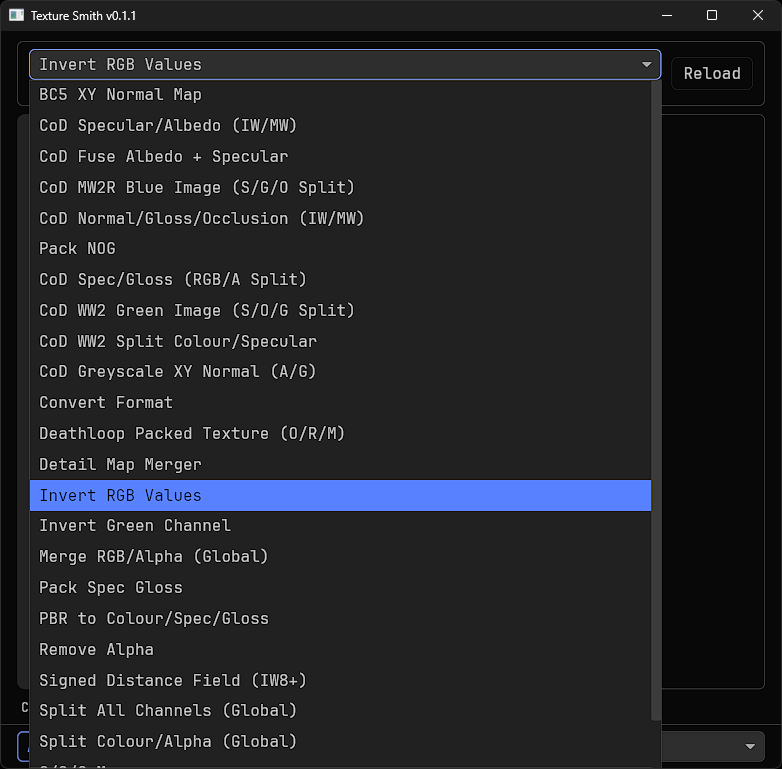
- Once selected, drag and drop the gloss into TS.

You should see a preview of the converted texture.
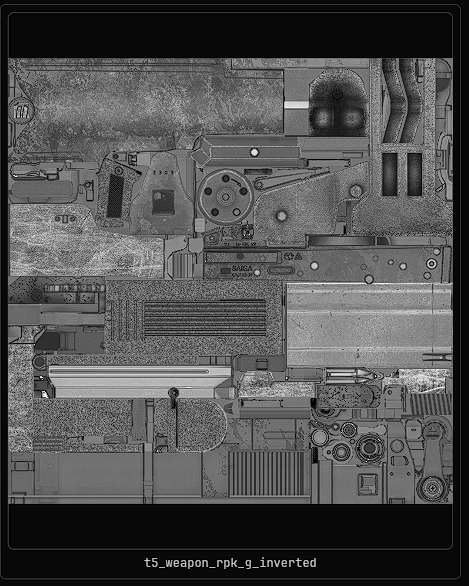
- When you're ready to export your textures pick the format you want and click "Save outputs".
- Your converted textures should export where you imported them from with _inverted.
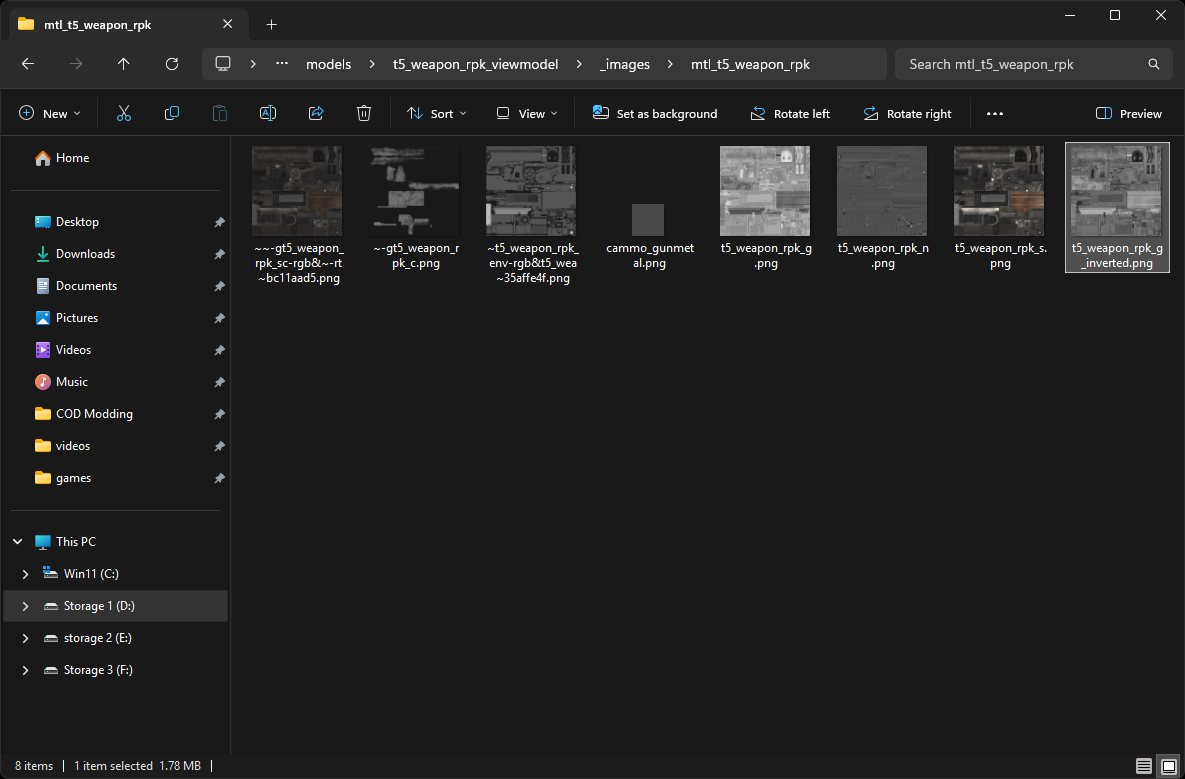
- You can now delete the original gloss and use the inverted one!
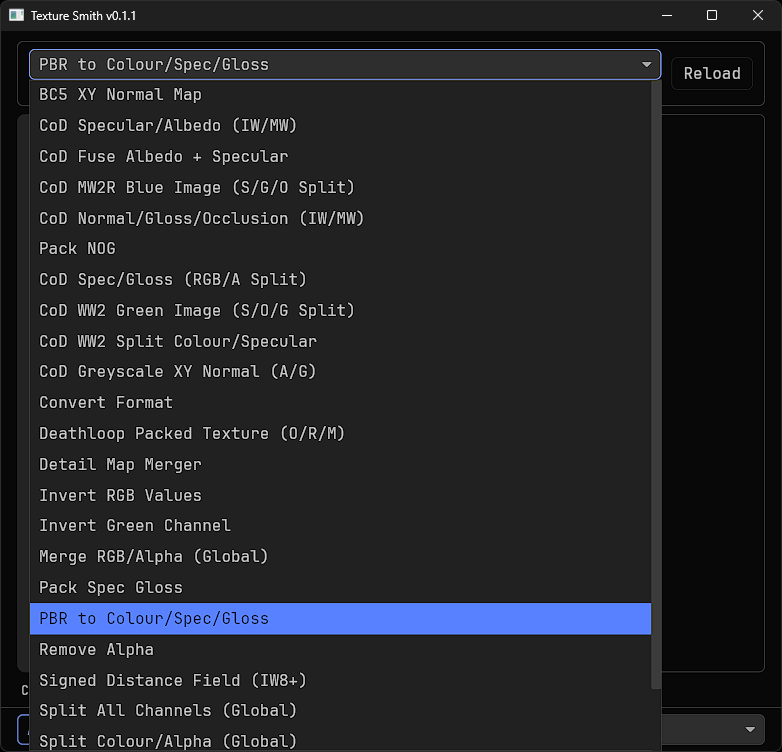
PBR to Colour/Spec/Gloss
How to convert Yellow Specular
In TS Select
Split All Channels (Global)in the drop down top left.
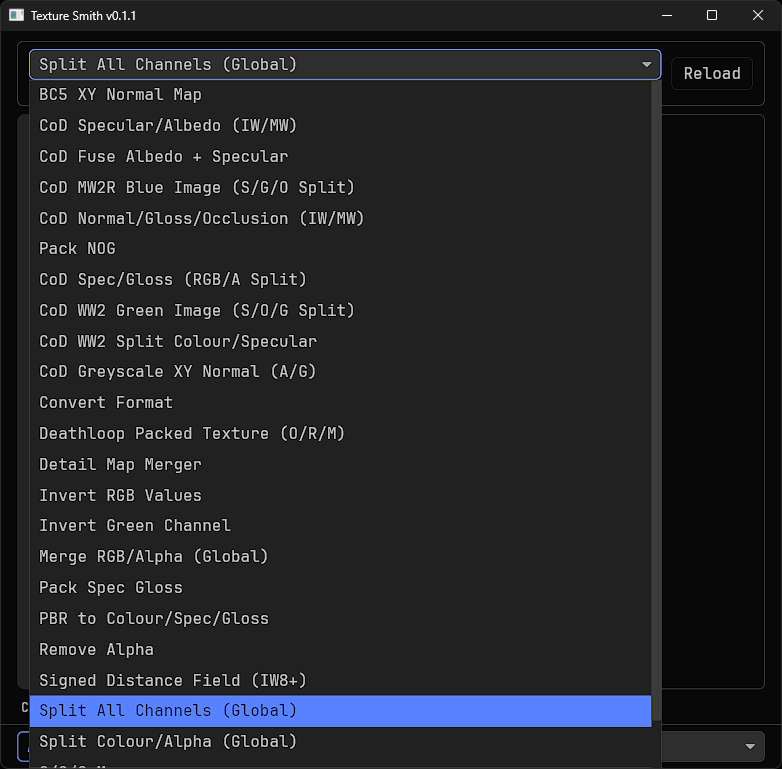
- Once selected, drag and drop the packed specular into TS.
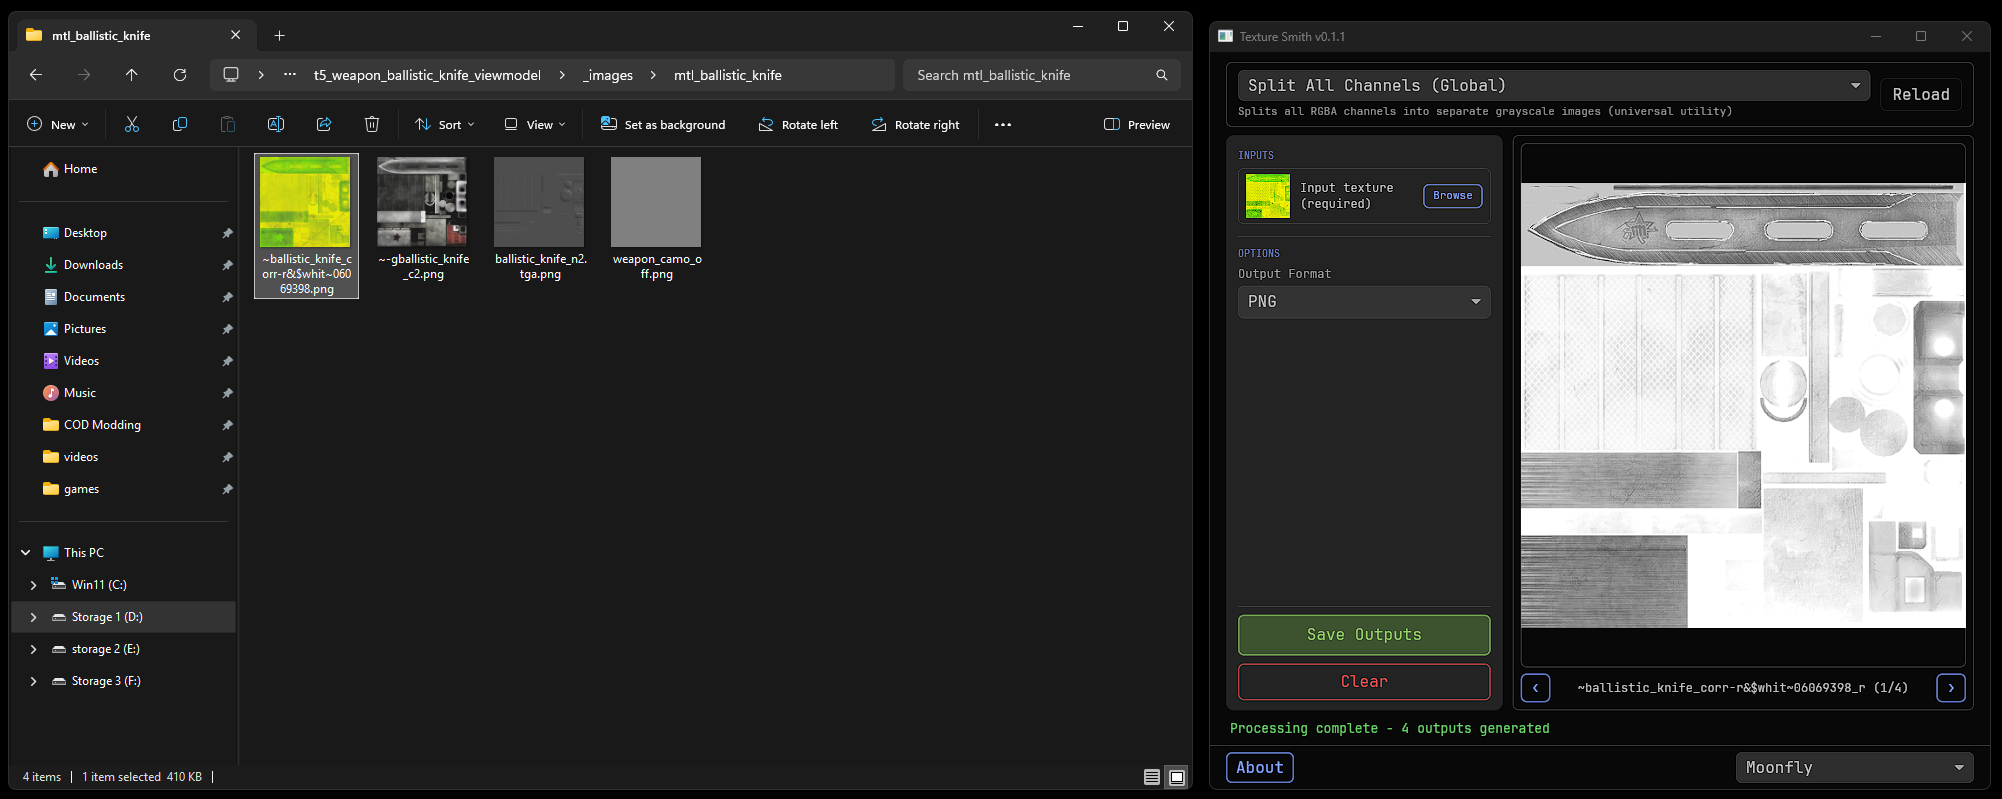
- You should see a preview of the converted textures, you can click on the left and right buttons to see all images.
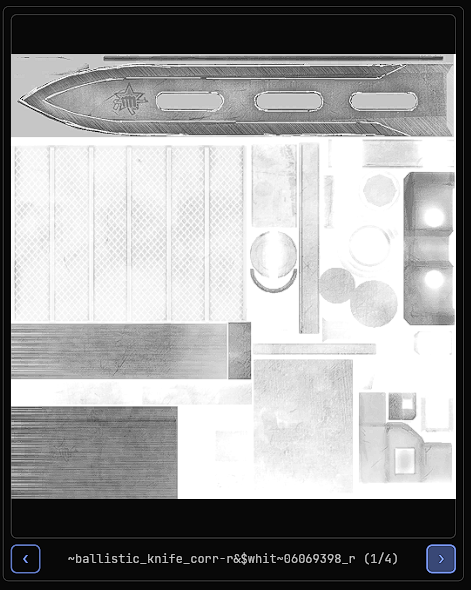
- When you're ready to export your textures pick the format you want and click "Save outputs".
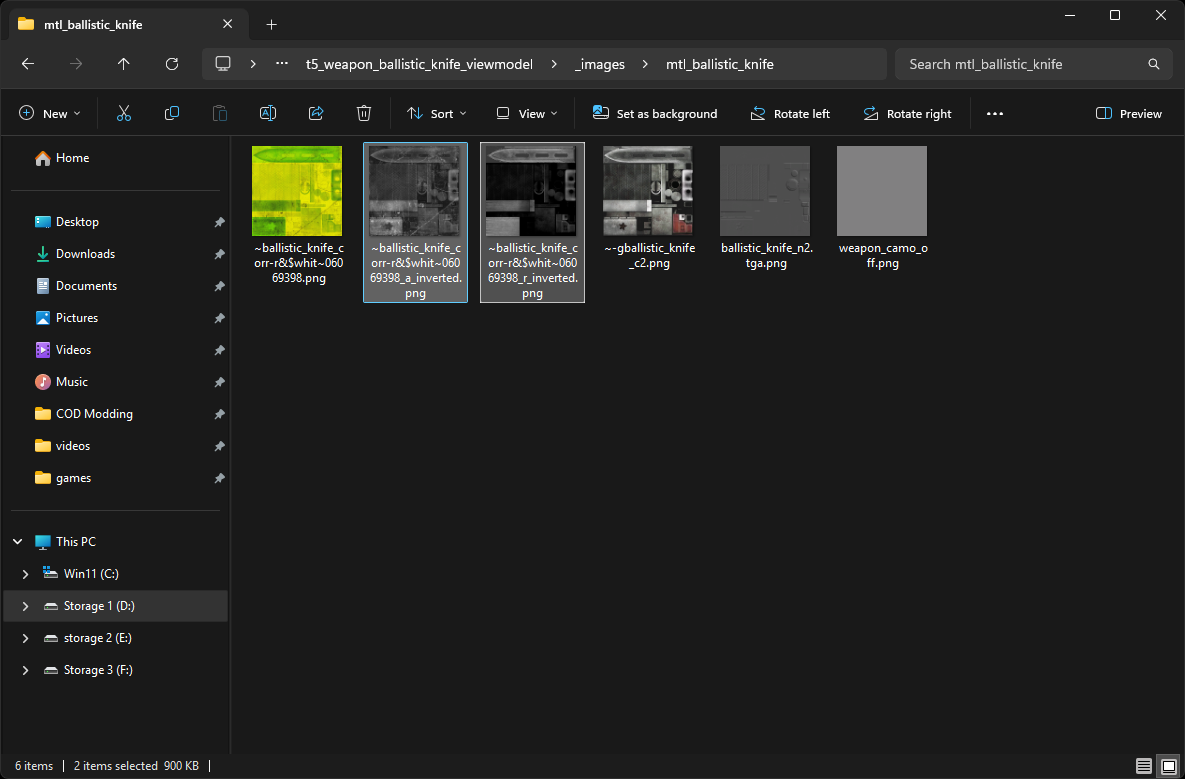
- Your converted textures should export where you imported them from with _r, _g, _b and _a.
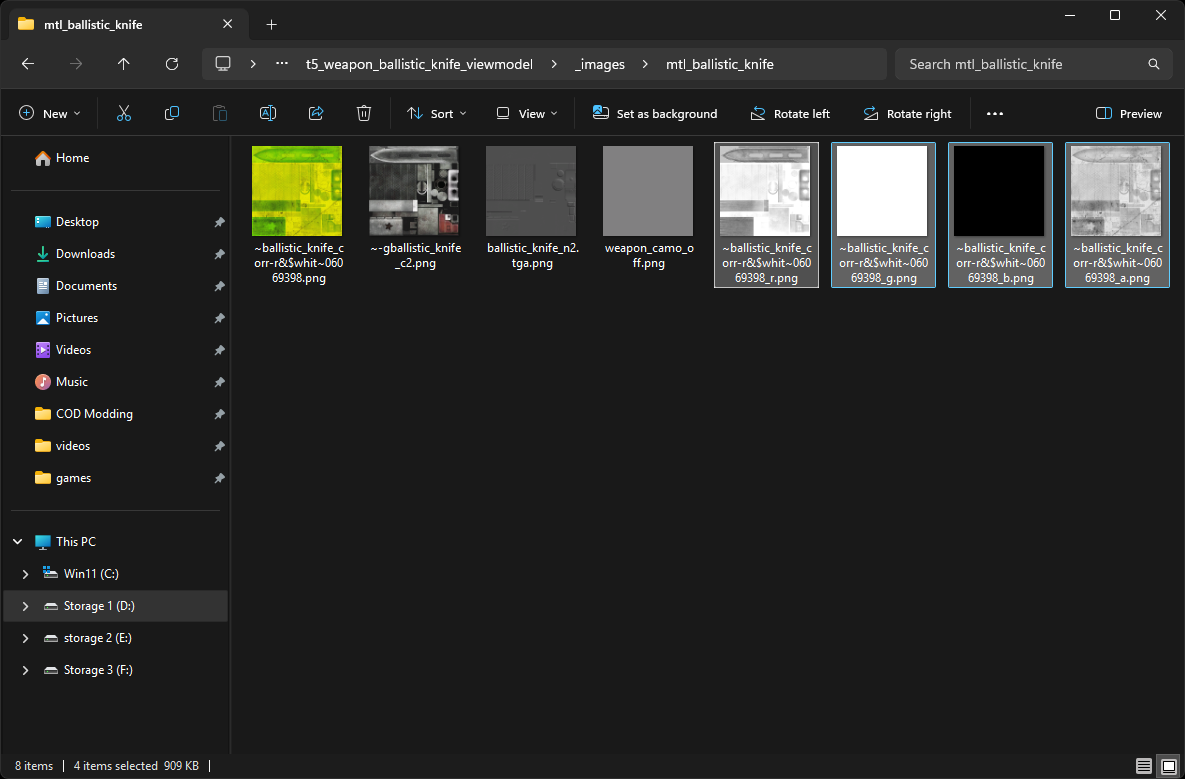
Each texture corresponds to a channel _r is red, _g is green, _b is blue and _a is alpha. Red is specular correction (inverted metallic), green is occlusion, blue is nothing and alpha is roughness
Start by deleting _b as it's nothing, next _g (occlusion) keep this as you can merge it into the colour, if its full white the material doesn't use it, you can delete it. _r (specular correction (inverted metallic)) is your specular and _a (roughness) is your gloss, you will need to invert both of these.
- Once both are inverted you can delete the original _r and _a.
- In TS Select
PBR to Colour/Spec/Glossin the drop down top left.
- Set colour mask to
0.50and specular mask to1.00

- Once selected, drag and drop the colour, specular and gloss into TS.
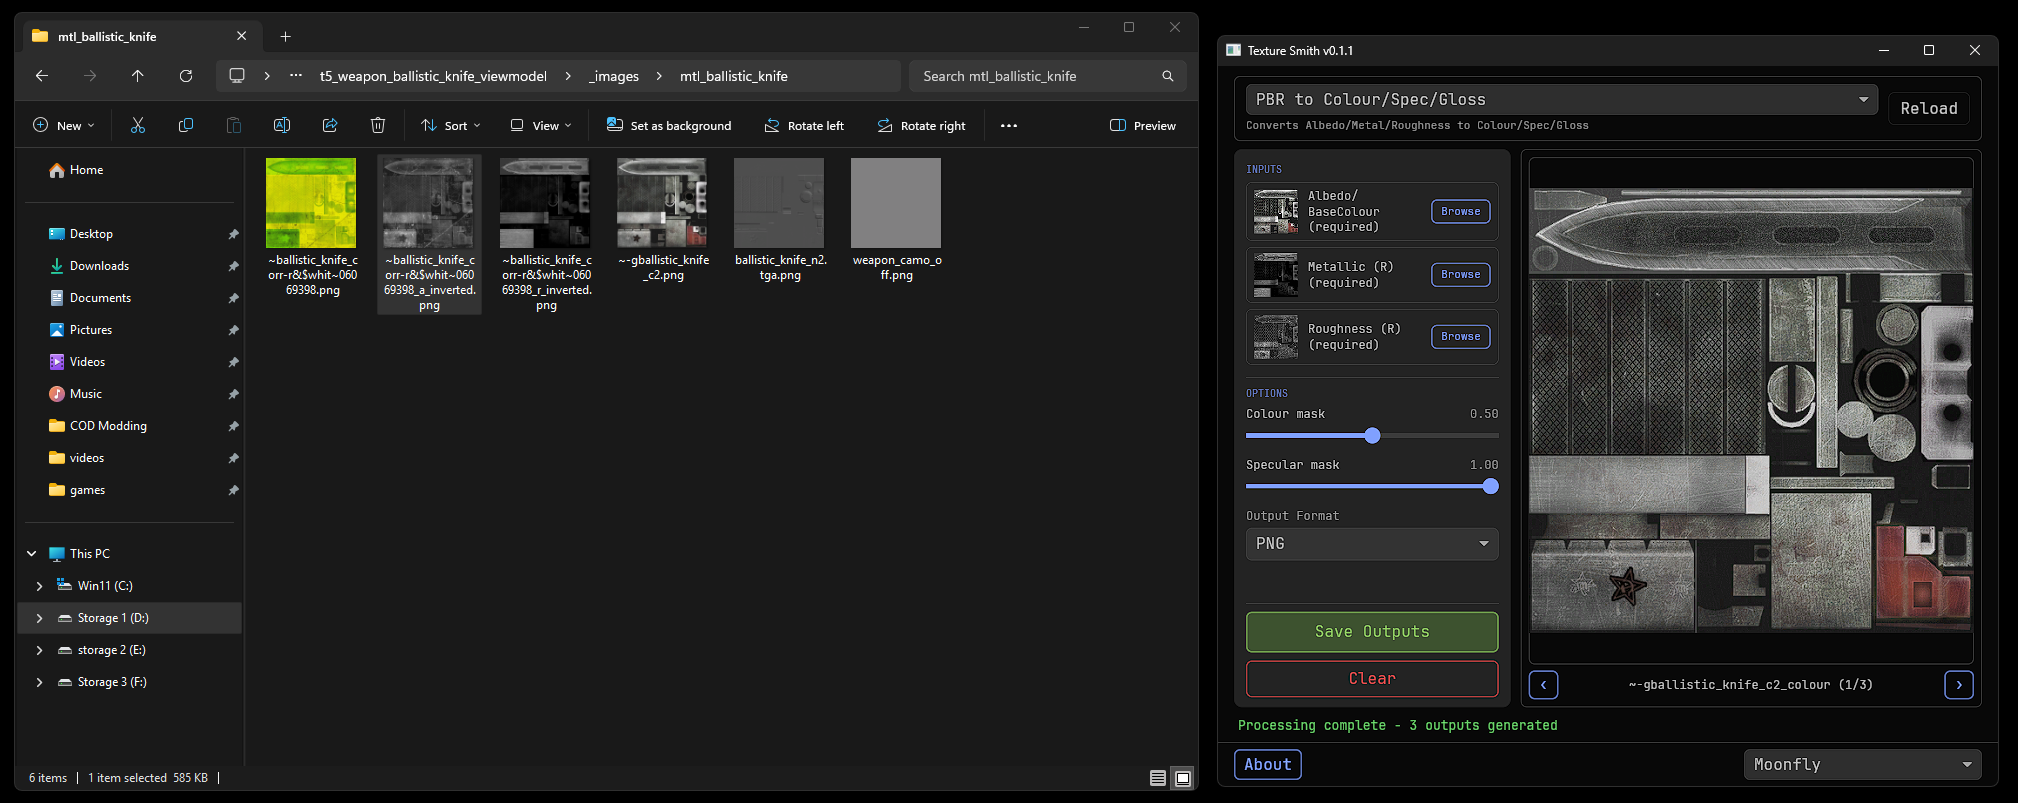
- You should see a preview of the converted textures, you can click on the left and right buttons to see all images.
- When you're ready to export your textures pick the format you want and click "Save outputs".
- You can now delete the inverted _r and _a and use the converted ones.
Unless you're porting this to a game with PBR you can delete the _colour from TS and use the original colour.
You can now delete the original yellow specular and use the converted ones!
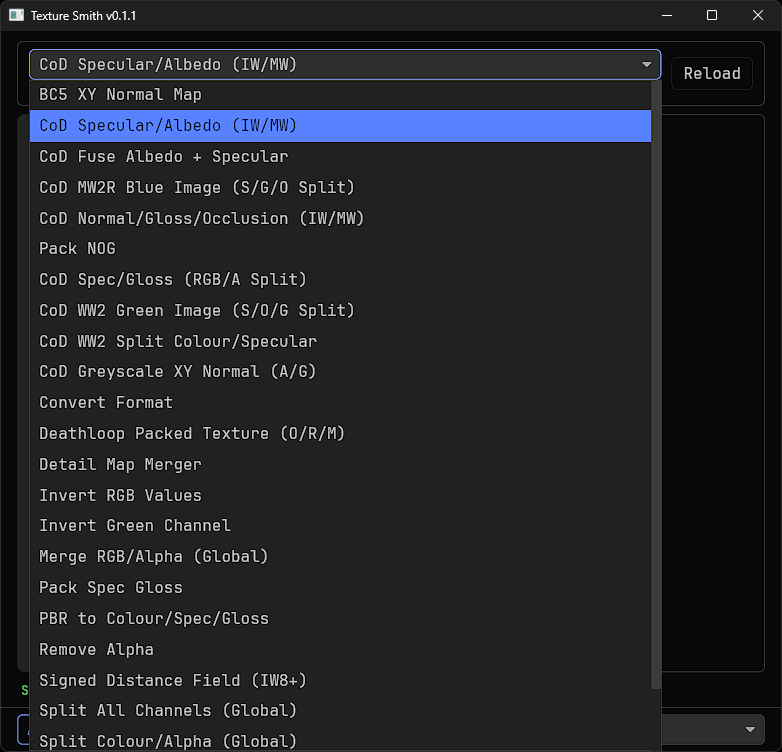
CoD Specular/Albedo (IW/MW)
How to split Specular and Albedo!
In TS Select
CoD Specular/Albedo (IW/MW)in the drop down top left.
- Once selected, drag and drop the packed specular/albedo into TS.
- You should see a preview of the converted textures, you can click on the left and right buttons to see both images.
- When you're ready to export your textures pick the format you want and click "Save outputs".
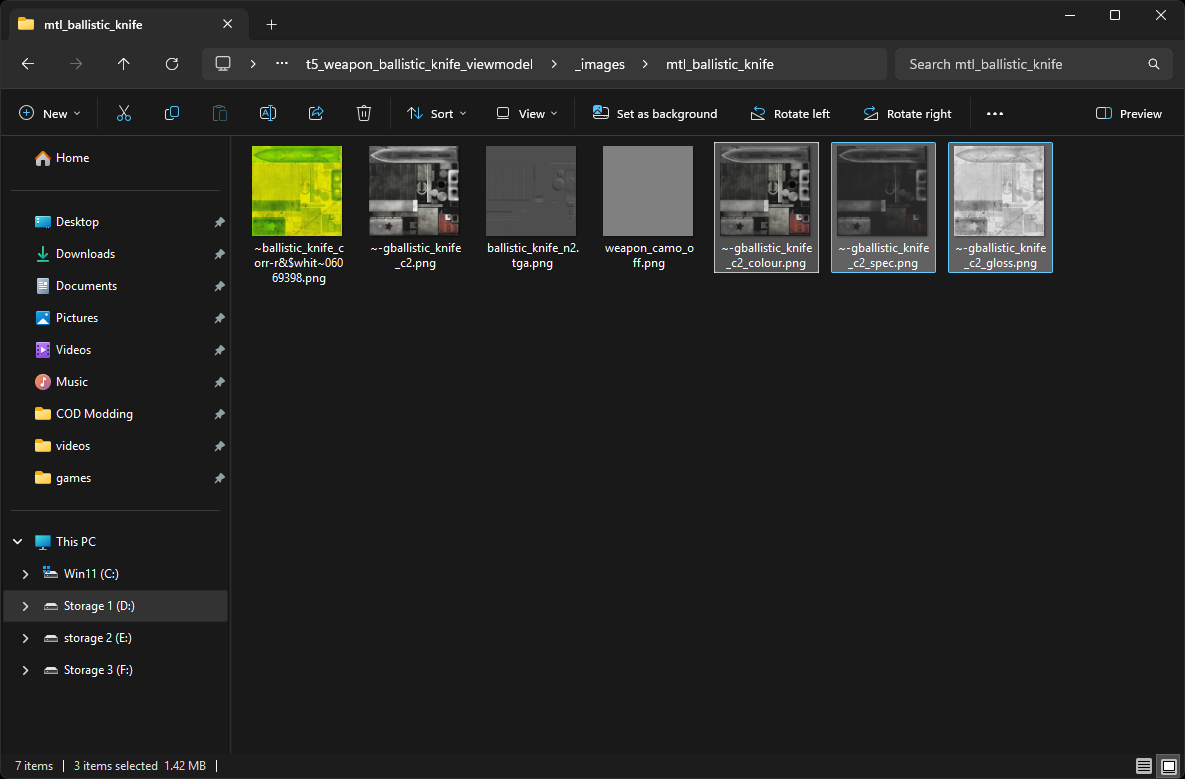
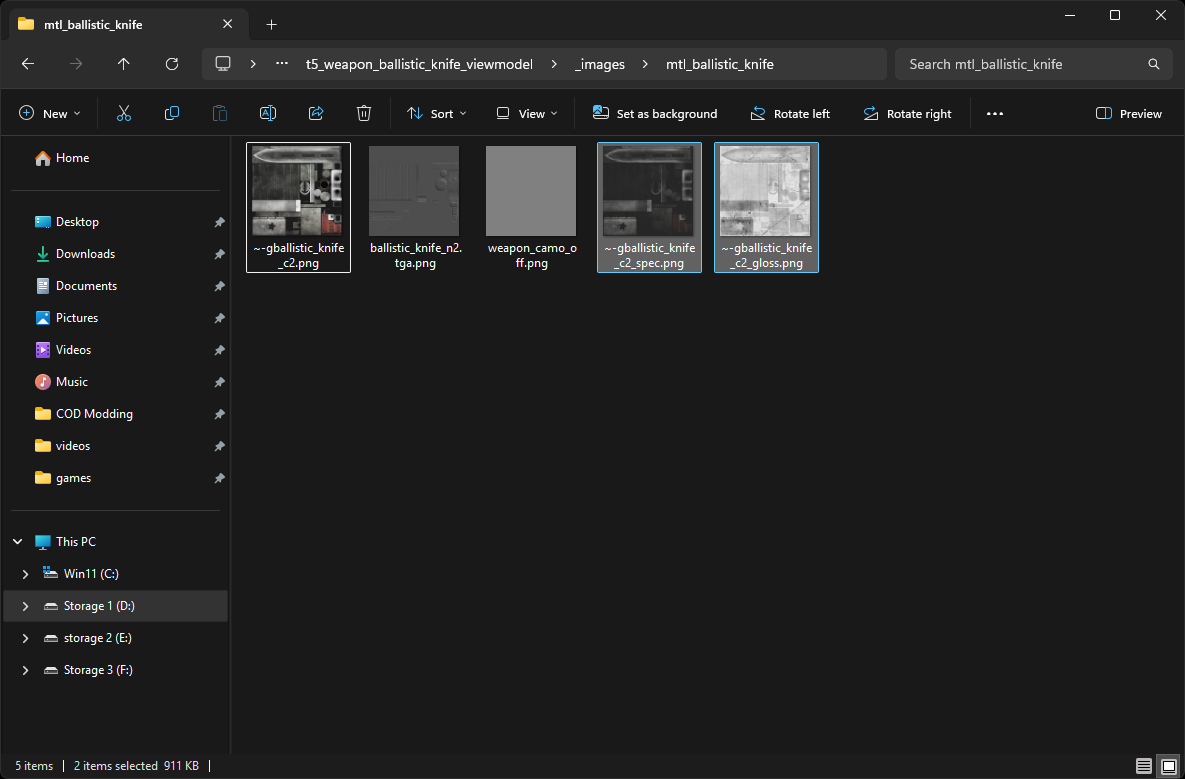
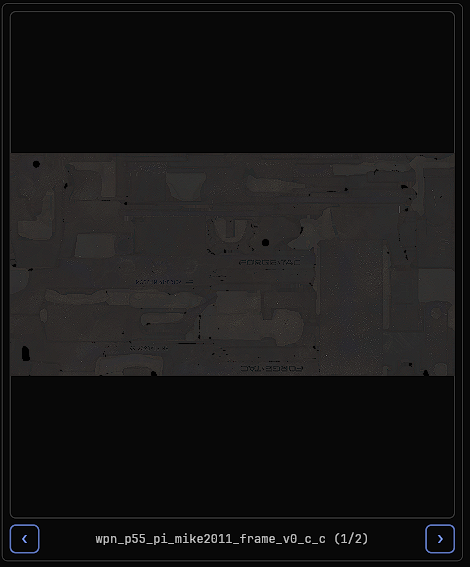
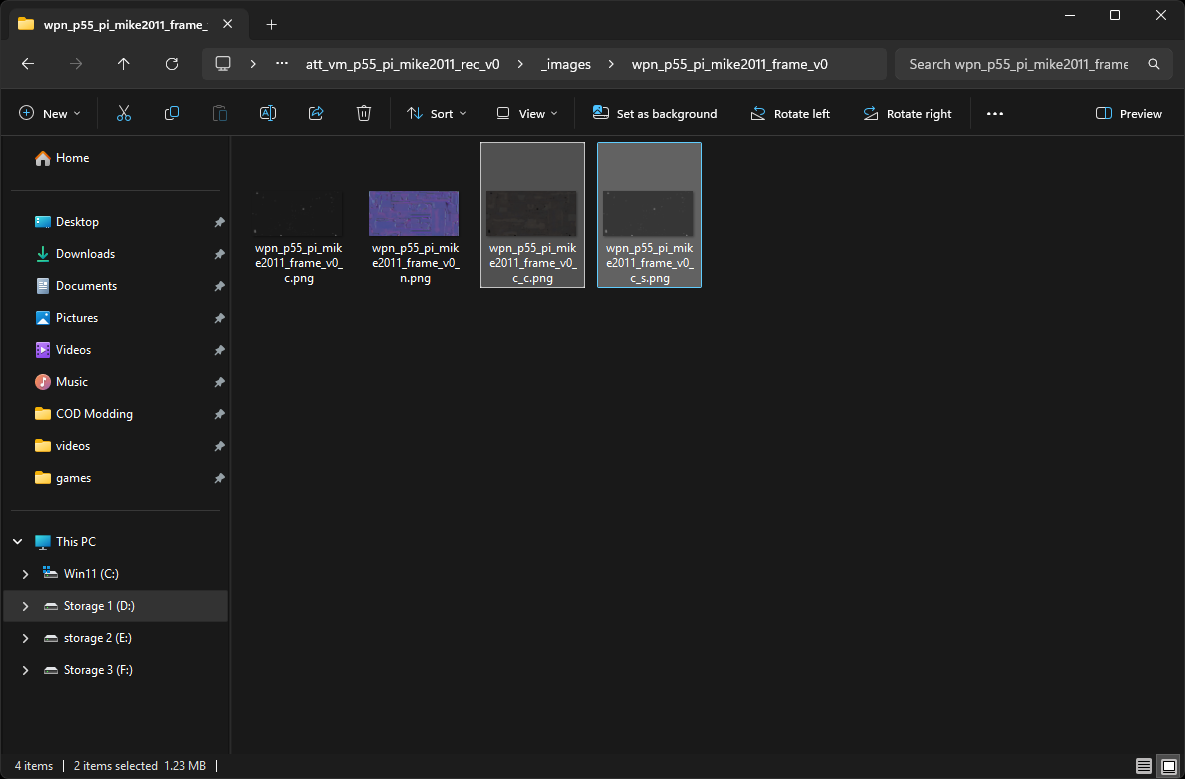
- Your converted textures should export where you imported them from with _c and _s.
- You can now delete the original packed specular/albedo and use the split specular and colour!
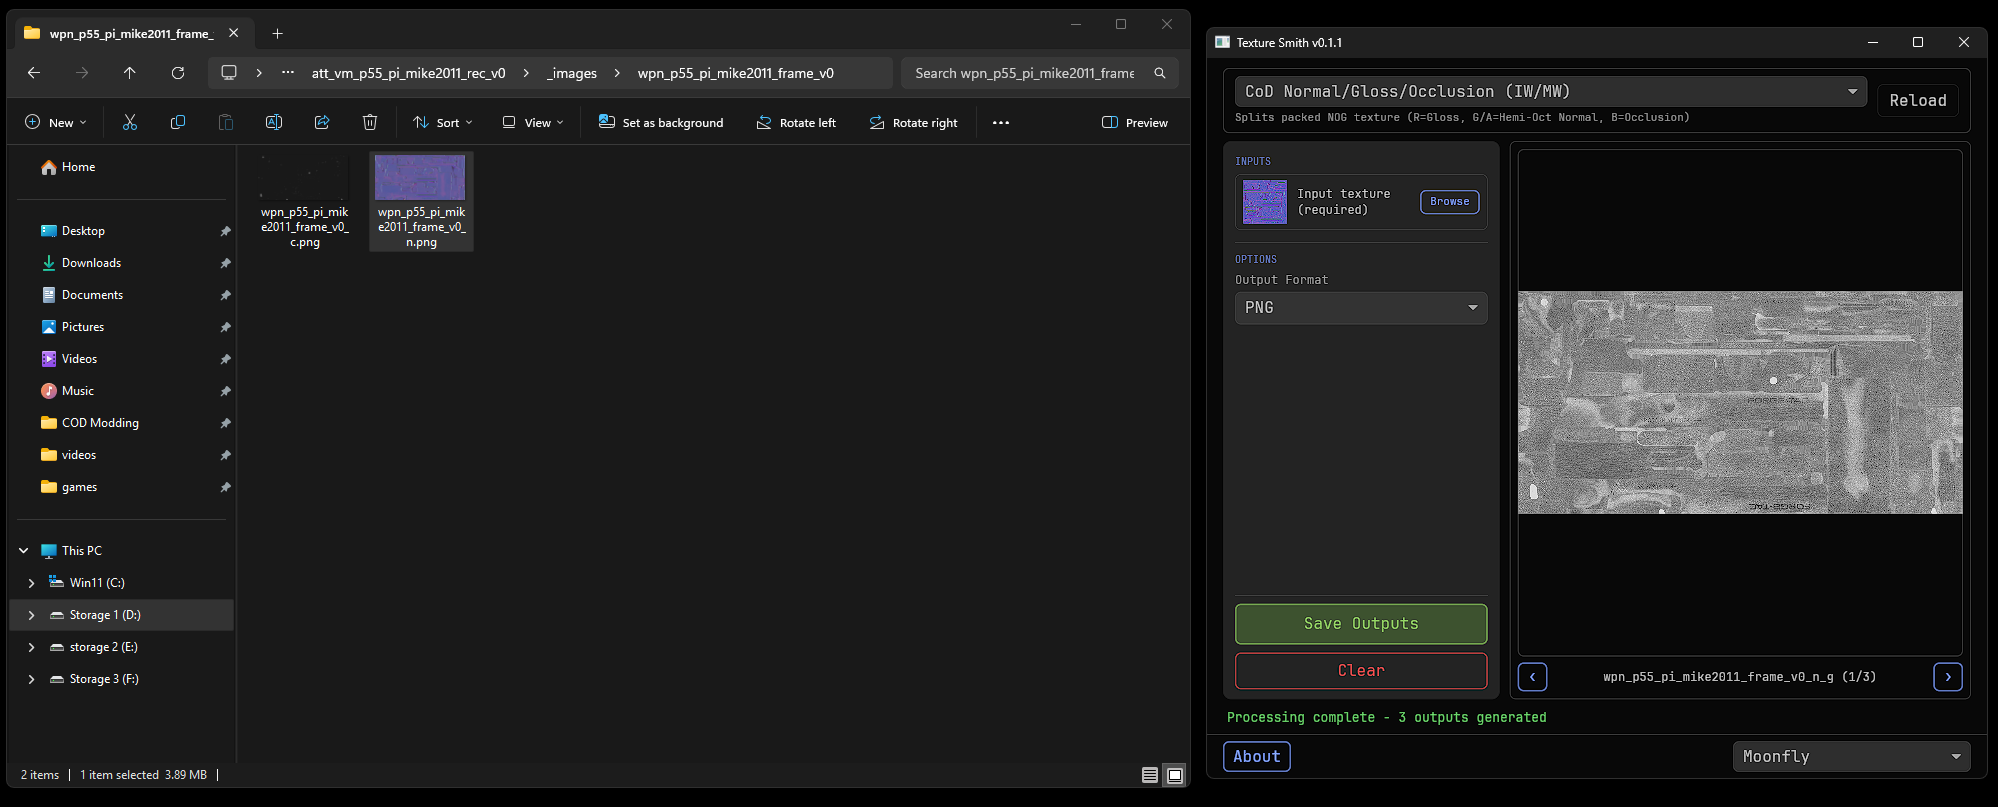
CoD Normal/Gloss/Occlusion (IW/MW)
How to split N.G.O (Normal/Gloss/Occlusion)!
In TS Select
CoD Normal/Gloss/Occlusion (IW/MW)in the drop down top left.
- Once selected, drag and drop the packed Normal/Gloss/Occlusion into TS.

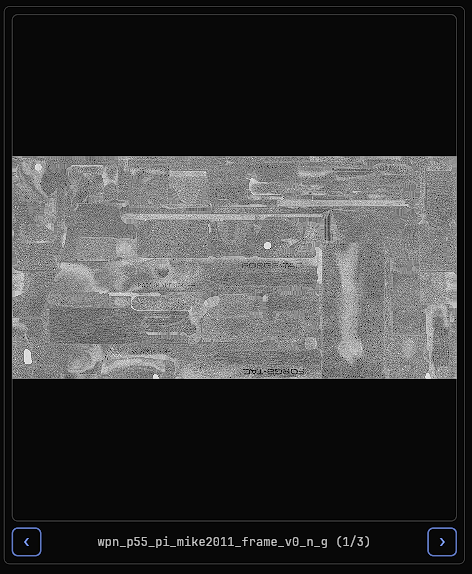
- You should see a preview of the converted textures, you can click on the left and right buttons to see all images.
- When you're ready to export your textures pick the format you want and click "Save outputs".
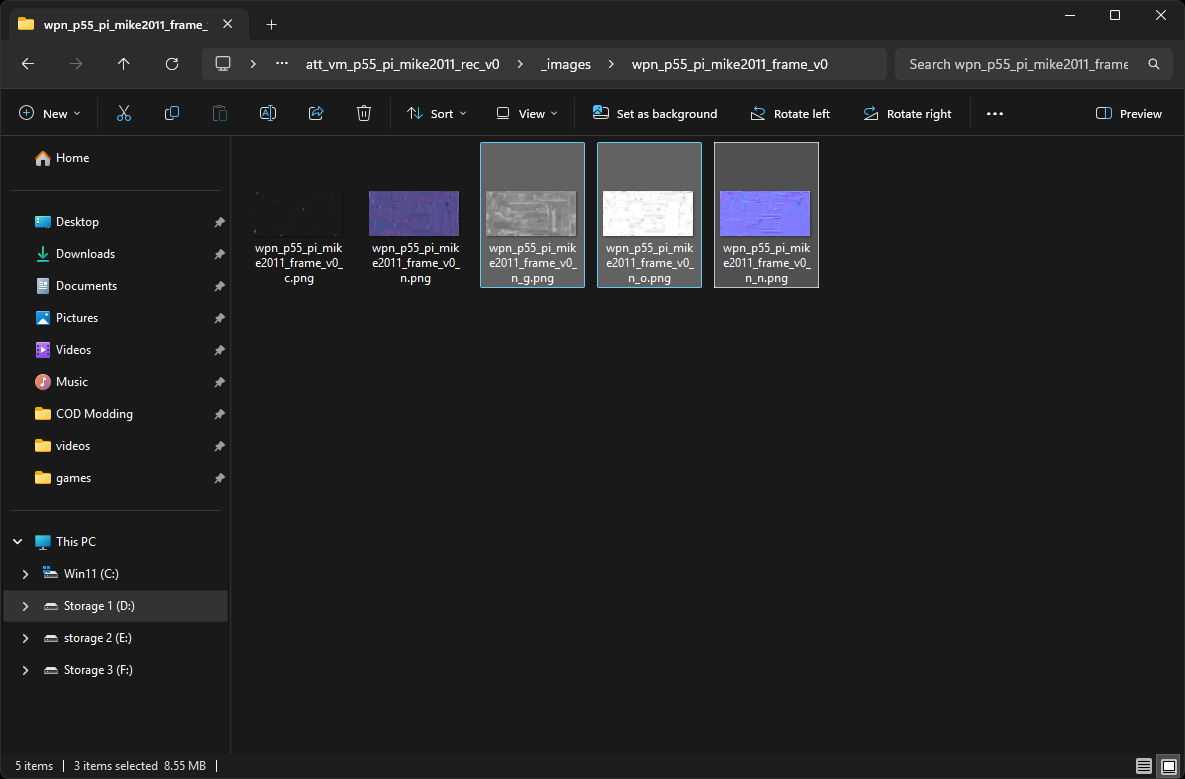
- Your converted textures should export where you imported them from with _n, _g and _o.
- You can now delete the original packed Normal/Gloss/Occlusion and use the split normal, gloss and occlusion!
CoD MW2R Blue Image (S/G/O)
How to split blue S/G/O (Specular/Gloss/Occlusion)!
In TS Select
CoD MW2R Blue Image (S/G/O)in the drop down top left.
- Once selected, drag and drop the packed Specular/Gloss/Occlusion into TS.
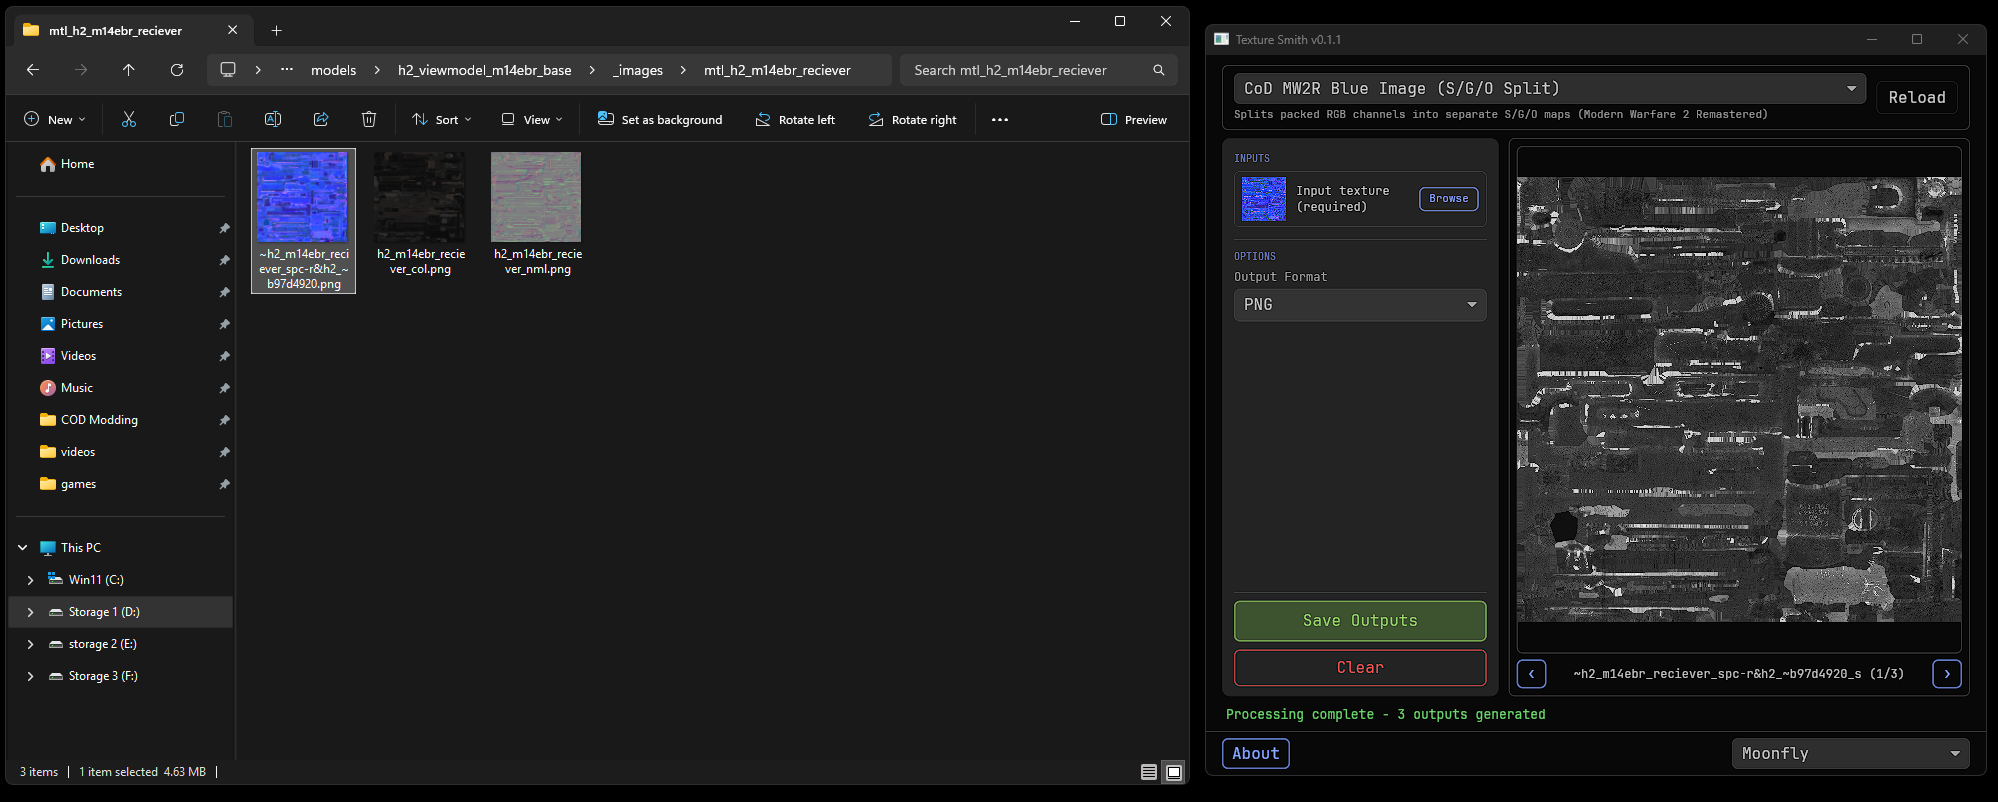
- You should see a preview of the converted textures, you can click on the left and right buttons to see all images.
- When you're ready to export your textures pick the format you want and click "Save outputs".
- Your converted textures should export where you imported them from with _s, _g and _o.
- You can now delete the original packed Specular/Gloss/Occlusion and use the split specular, gloss and occlusion!
CoD WW2 Green Image (S/O/G)
How to split S/O/G (Specular/Occlusion/Gloss)!
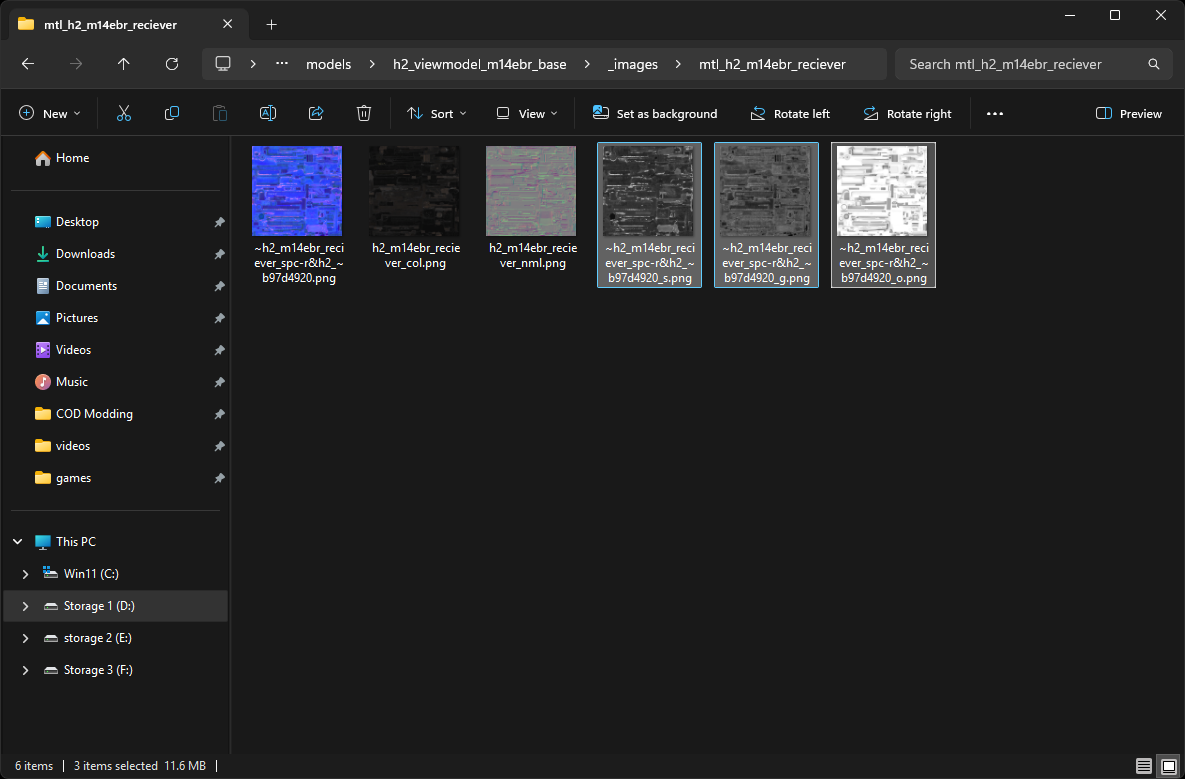
In TS Select
CoD WW2 Green Image (S/O/G)in the drop down top left.
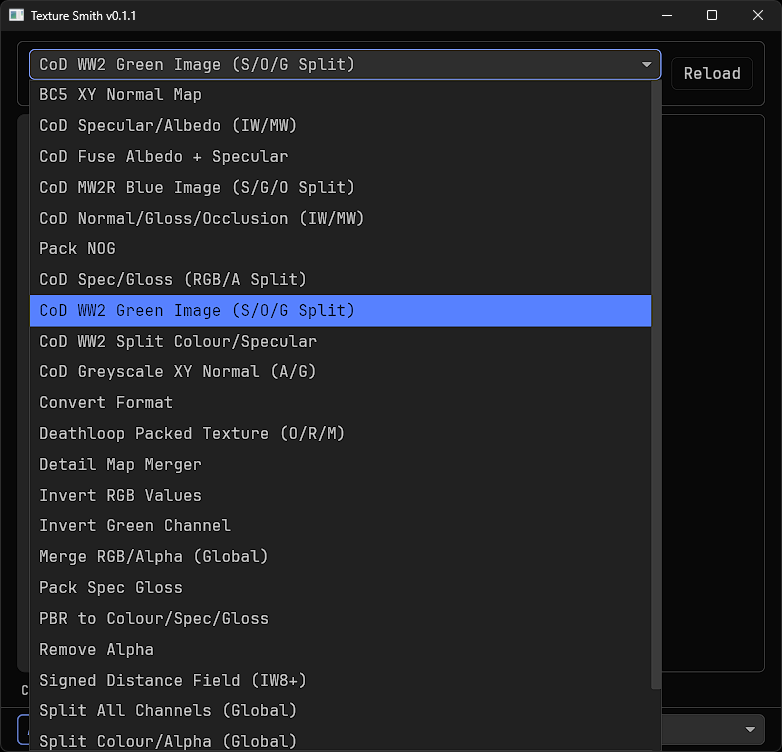
- Once selected, drag and drop the packed Specular/Gloss/Occlusion into TS.
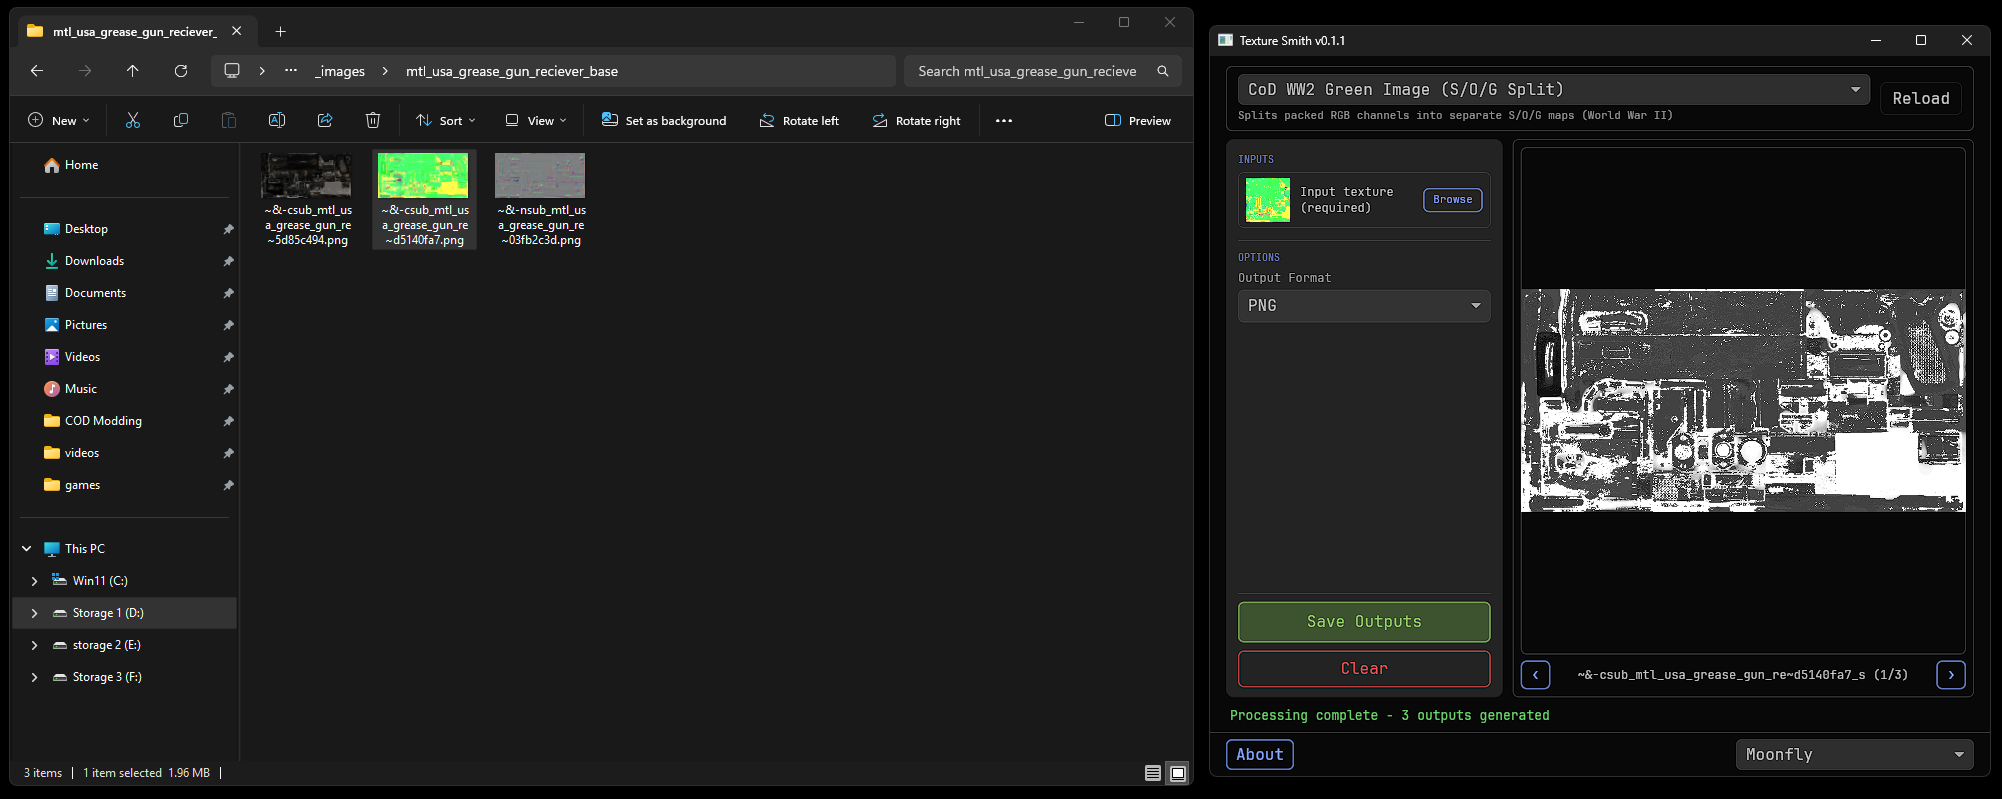
- You should see a preview of the converted textures, you can click on the left and right buttons to see all images.
- When you're ready to export your textures pick the format you want and click "Save outputs".
- Your converted textures should export where you imported them from with _s, _o and _g.
You can now delete the original packed Specular/Occlusion/Gloss and use the split specular, occlusion and gloss!
Please note the occlusion from this packed texture is a cavity map (another type of AO), so use the exported _o for normal occlusion.
CoD WW2 Split Colour/Specular
How to split Colour/Specular!
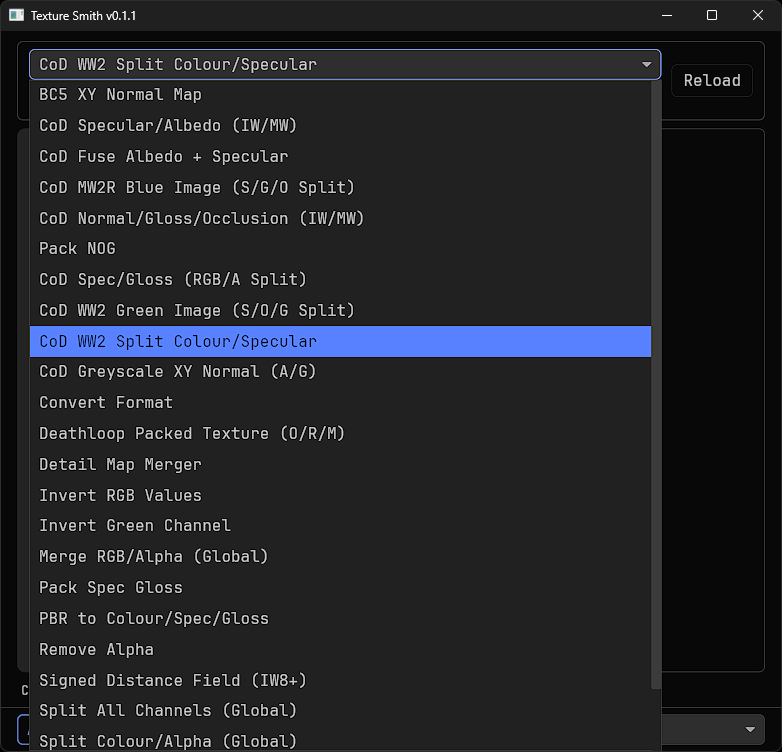
In TS Select
CoD WW2 Split Colour/Specularin the drop down top left.
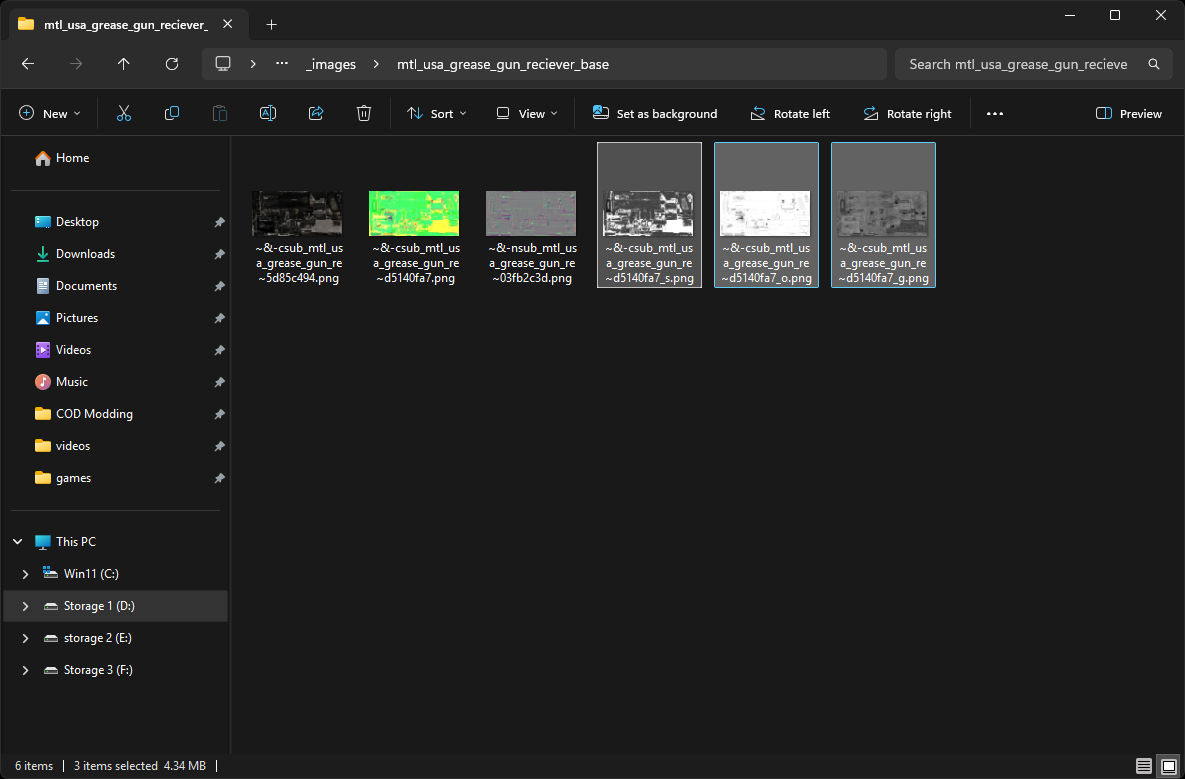
- Once selected, drag and drop the colour and unpacked specular into TS.
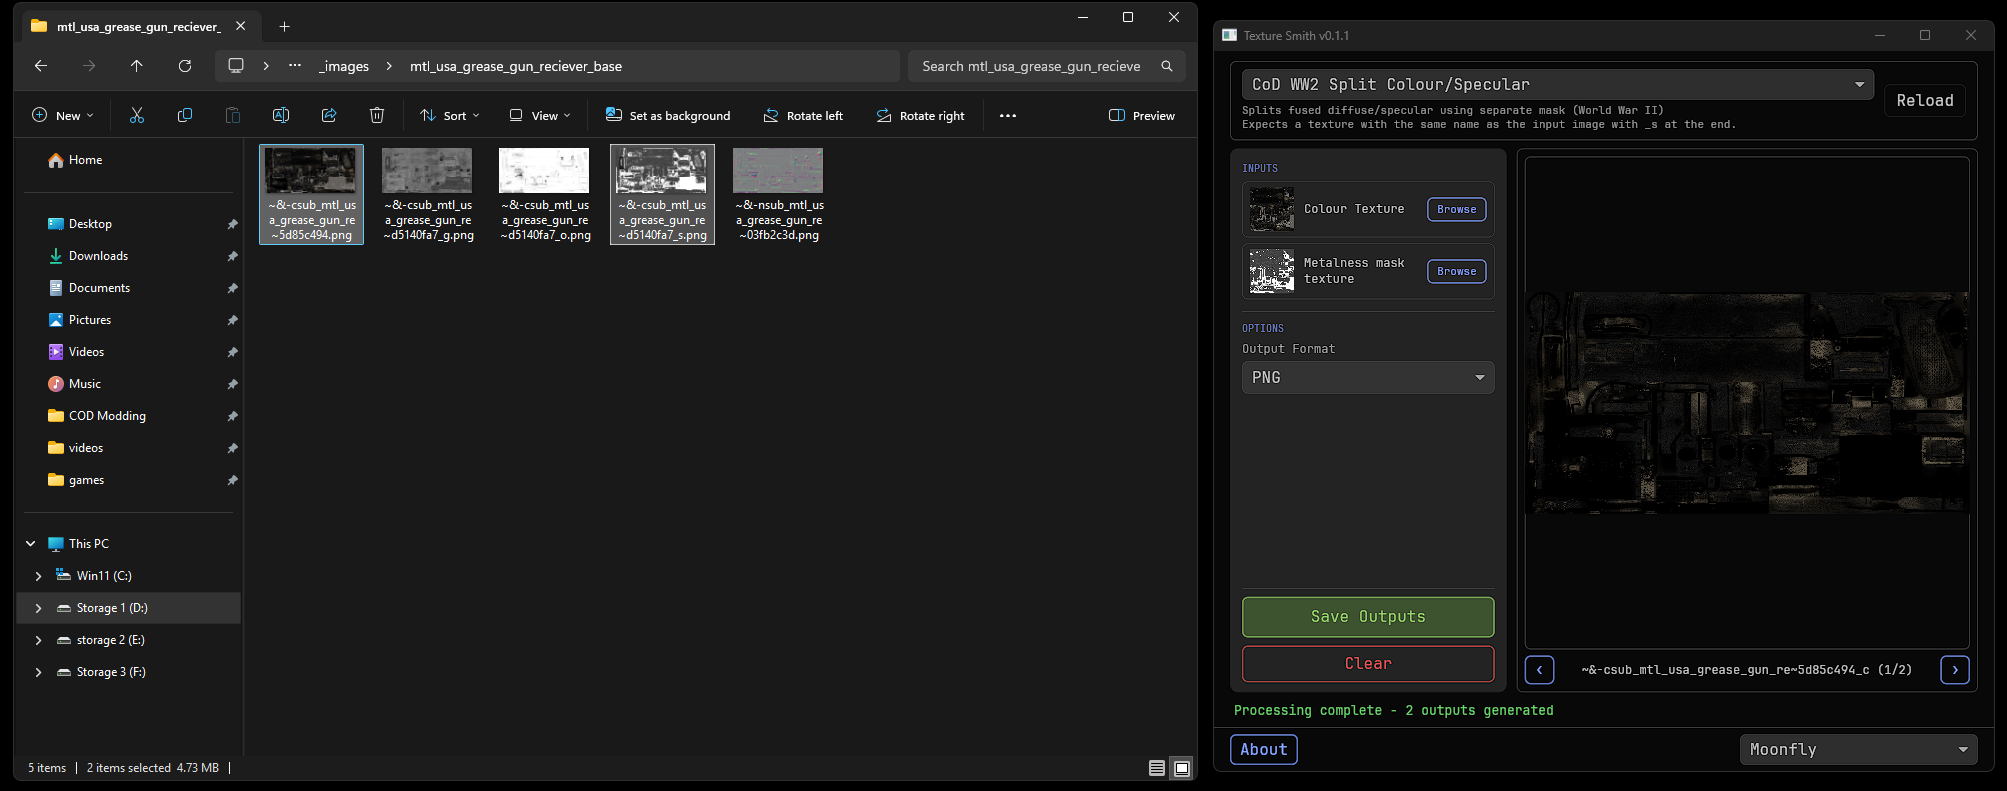
- You should see a preview of the converted textures, you can click on the left and right buttons to see all images.
- When you're ready to export your textures pick the format you want and click "Save outputs".
- Your converted textures should export where you imported them from with _c and _s.
- You can now delete the original colour and unpacked specular and use the new _c and _s
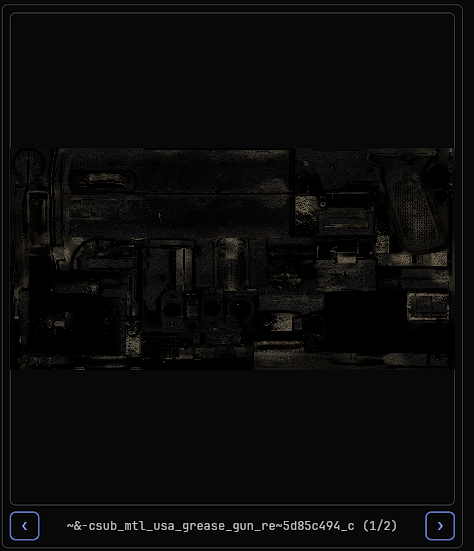
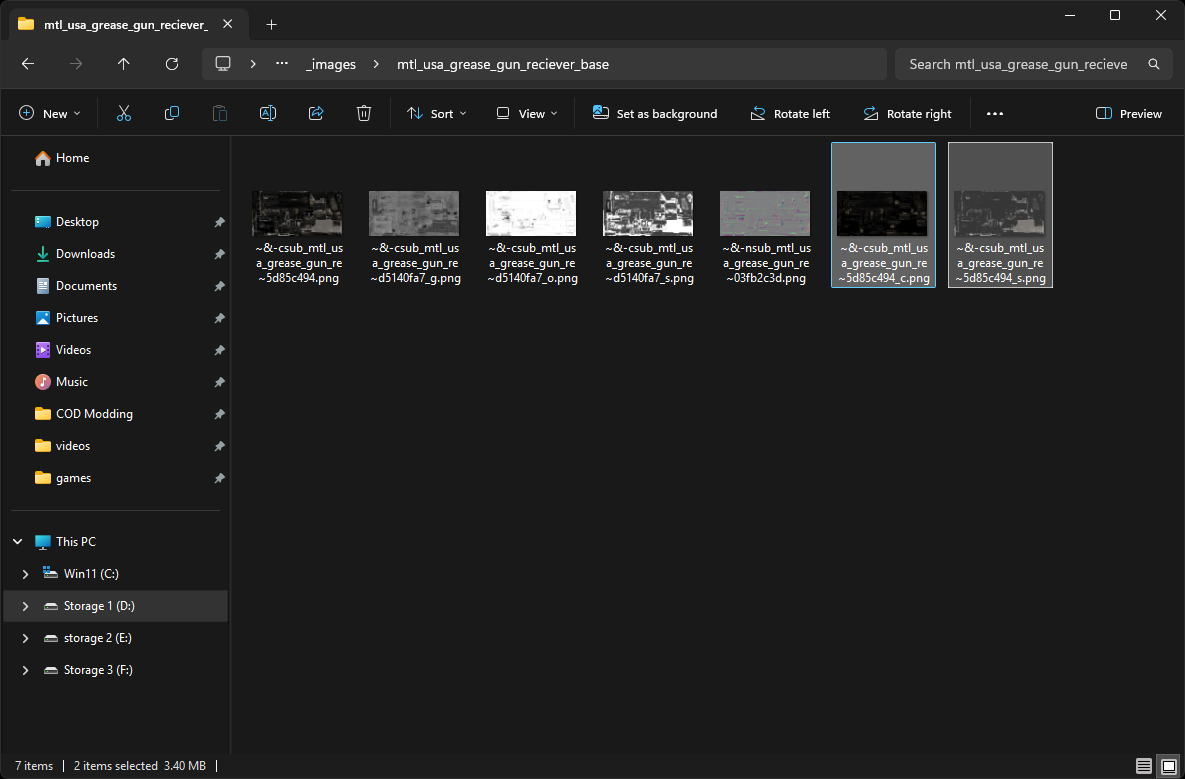
C/S/O Merger
How to merge Colour, Specular and Occlusion!
In TS Select
C/S/O Mergerin the drop down top left.
- Once selected, drag and drop the colour, specular and occlusion into TS.
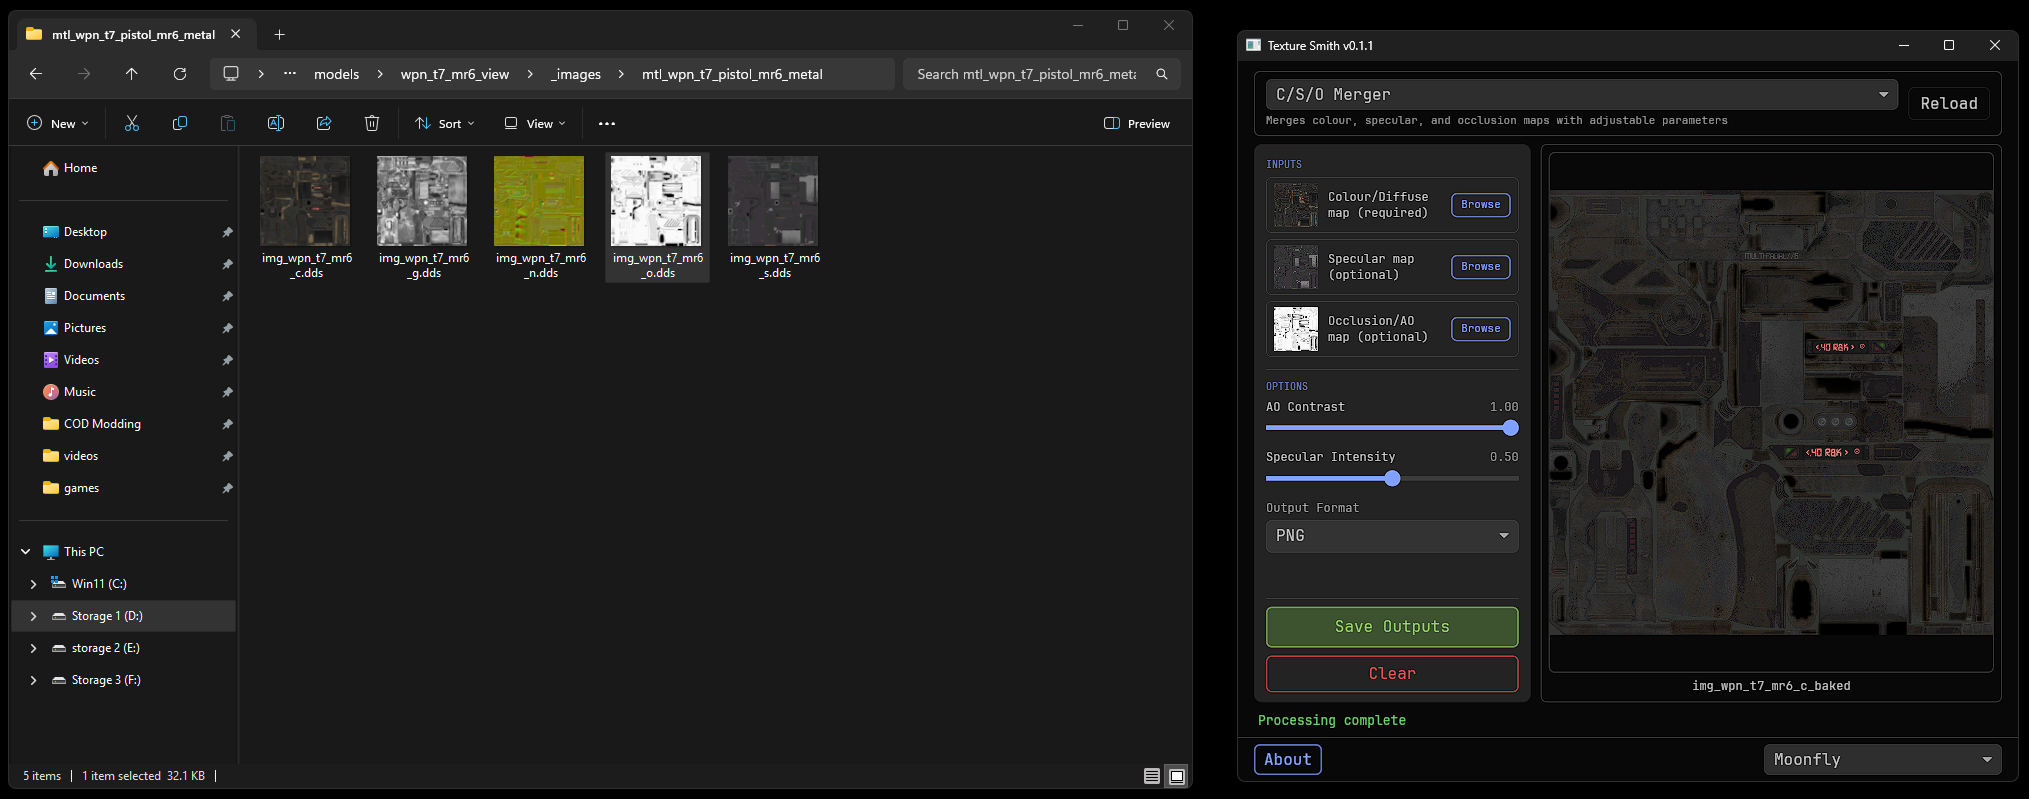
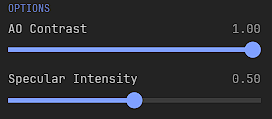
- Set AO Contrast to 1.00 and specular Intensity to 0.50
- You should see a preview of the converted texture.
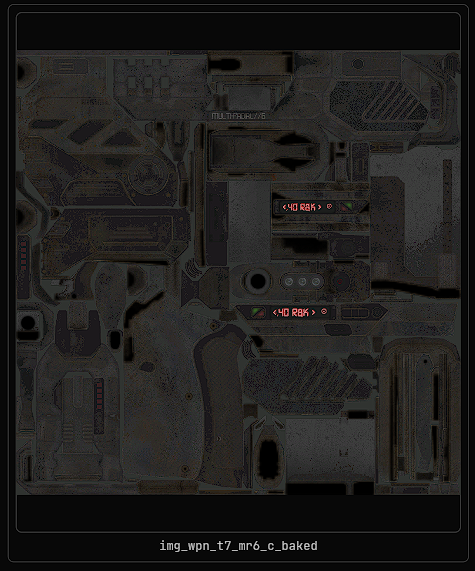
- When you're ready to export your texture pick the format you want and click "Save outputs".
- Your converted textures should export where you imported them from with _baked.
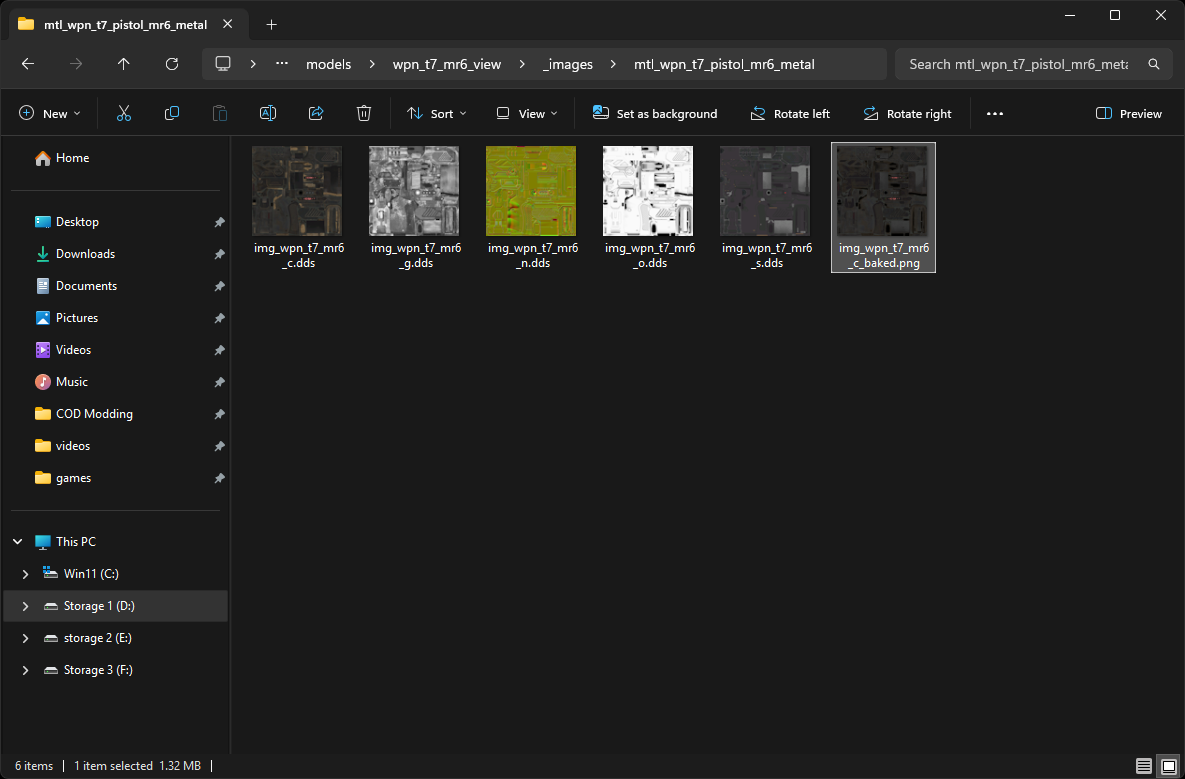
- You can now delete the original colour and use the _baked one!
Installing COD4:MW ModTools
How to install COD4:MW ModTools!
Using ManyWeapons
How to use ManyWeapons!
Using HydraX
How to use HydraX!
Using ZoneBuilder
How to use ZoneBuilder (ZB)!
Using ZoneTool
How to use ZoneTool (ZT)!
Using OpenAssetTools
How to use OpenAssetTools (OAT)!
Using x64 ZoneTool
How to use ZoneTool (x64 ZT)!
Using BassDrop
How to use BassDrop!
Using CascView
How to use CascView!